 Click to call

Tile Cutting Tips for Backsplash Perfection
Last year, Mr. Handyman spoke about all of the different tiling tools that are used for DIY Kitchen Backsplash Projects. This year, we want to give everyone tips on doing one of the more challenging tasks in DIY Kitchen Backsplash Projects: Tile Cutting. We would like to caution our readers that this task has moderate difficulty and you should consider calling Mr. Handyman for your Kitchen Backsplash needs if you don’t feel comfortable doing it yourself.
The tile-cutting process is a multi-step process. Here we lay out a 5-step process for successfully cutting tile for your DIY Kitchen Backsplash Project.

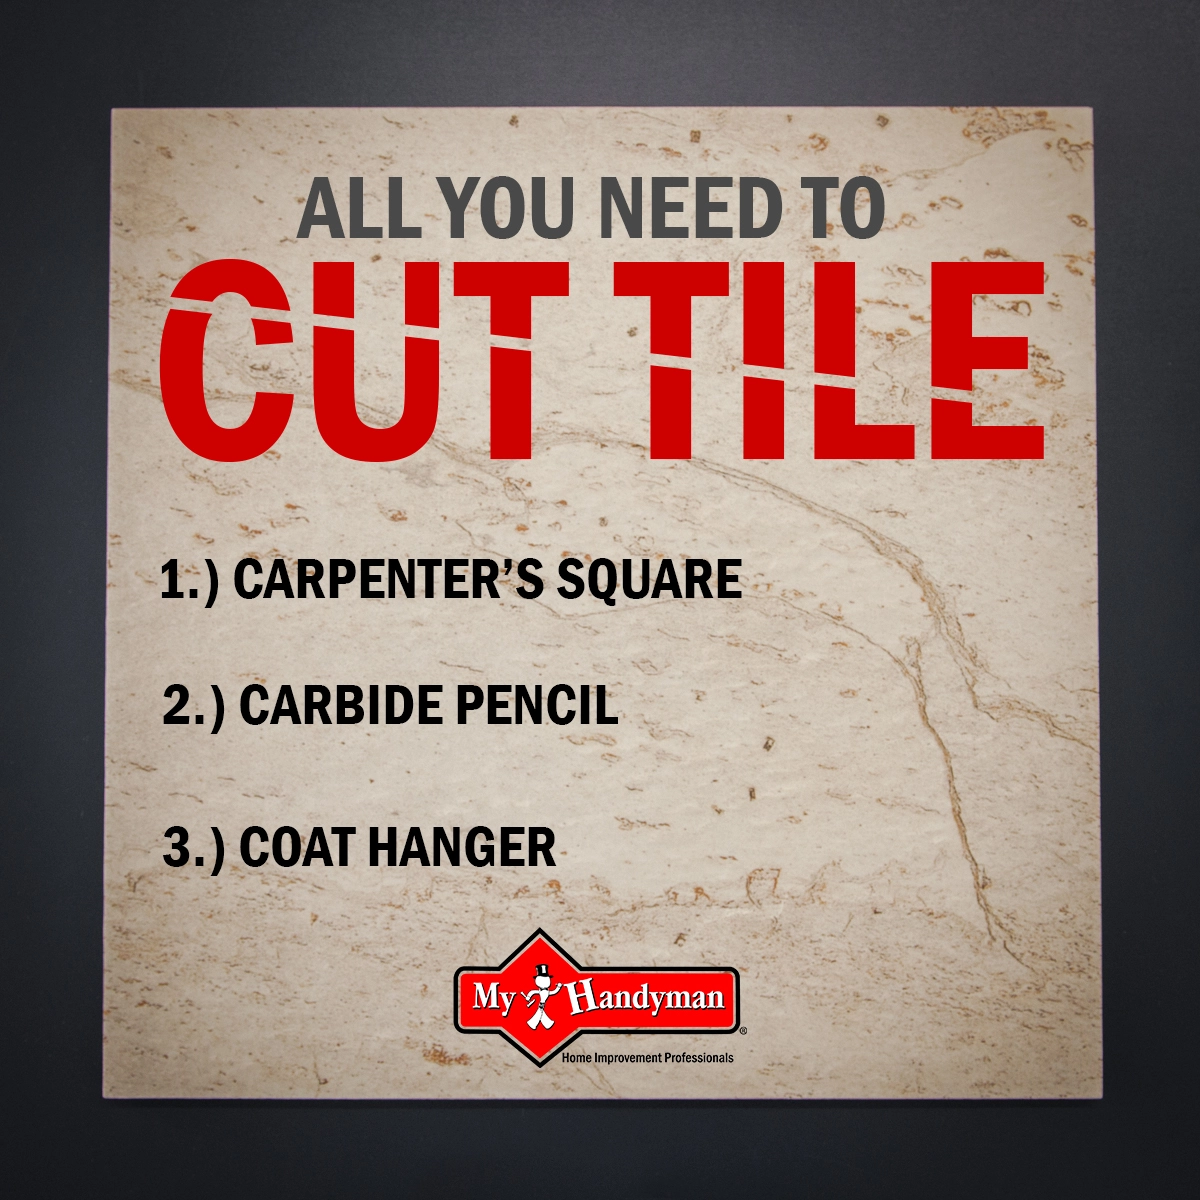
1. Measure the area that you would like to install your DIY Kitchen Backsplash Project by dry fitting the sheets of tile. By doing this, you will know what tile needs to be cut and what doesn’t. For those that do need to be cut, you can mark your line with a carbide tip pencil. Be sure to measure twice, and measure preciously before cutting any tiles.
2. Using a square as your guide, run over the line with a glass cutter or carbide tip pencil.
3. Lay the tile over a wire clothes hanger so that the wire runs directly beneath the cut.
4. Press down on both ends to snap the tile in half. Tile nippers also work great, especially for smaller, circular cuts. Snap cutters are great for straight and angled cuts.
5. Rub the rough tile edge on a brick to smooth it out. If you prefer, you can also use a sanding stone to smooth out any rough edges.
If cutting tile for a kitchen backsplash sounds like too much work, contact your local Mr. Handyman by calling or request service in your area. Remember, DIY doesn't mean you have to do it all by yourself!