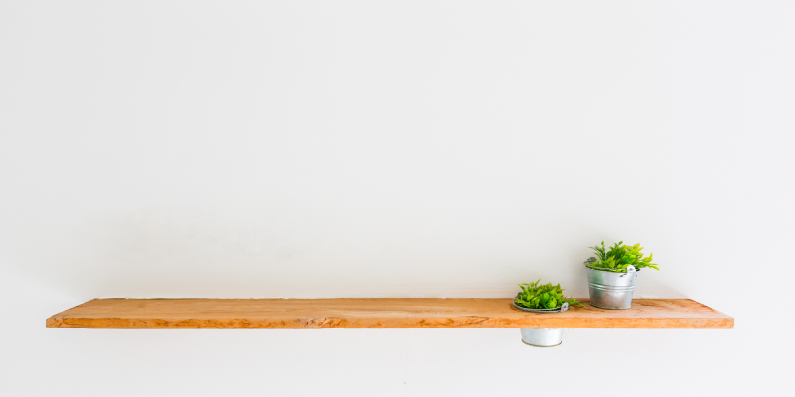
Fill Empty Wall Space with Floating Shelves
 Floating shelves are a decorator’s dream. These versatile room accents provide a unique and attractive decor option, and practical storage at the same time. When selecting or creating your new floating shelving, think about how you will use the shelves and decide on the look you want.
Unique Ways to Use Your Shelves
You can use your floating shelves to hold books in the bedroom, framed photos in the living room and/or dishes in the kitchen. You can also use floating shelves to show off artwork, a vase of flowers, knick-knacks, and collections.
How to Hang Floating Shelves
Evaluate Your Wall
- Use a stud-finder to determine the best place to install your floating shelves
- Or drive in a test nail, which will easily go through drywall, but meet resistance in plaster (or if you’ve hit a stud)
Choose Your Anchors
- For wall studs, no anchors are needed
- Use hollow wall anchors if you’re dealing with plaster walls
- Use drywall or butterfly anchors for drywall
- Purchase the right type of anchors for your wall's composition and be sure they're rated for (much more than) the weight you plan to put on your floating shelves (plus the weight of the shelf itself)
Gather Your Equipment
- Your selected shelves and supporting brackets
- Stud finder
- Wall anchors
- Power drill
- Tape measure
- Screwdriver
- Screws
- Level
Install Your Floating Shelves
- Use light pencil markings to indicate where shelves will be installed. Mark the location of both ends of the shelf.
- Use a level and draw a line in pencil on the wall.
- Mark a pilot hole in your wall, where the first anchor(s) will be inserted. Usually, a few inches in from the end of the shelf, to distribute weight properly. Mark another pilot hole spot on the other side. Heavy shelves may need an extra bracket in the exact center to support the shelf.
- Drill the pilot hole(s) for the bracket screw.
- Insert one anchor into your drilled pilot hole(s), following package directions.
- Line up your first shelf bracket with the anchor.
- Install the bracket on the wall with a screwdriver, with screws going into the anchors you placed in the pilot holes.
- Place your shelf atop the installed bracket and have a friend hold the other end, along the line you’ve drawn on the wall.
- Check with your level. If the shelf is level, put the shelf down and...
- Repeat steps 4 through 8 to install the second shelf bracket.
- Slide your floating shelf onto the brackets and check your level again.
- Add another bracket in the center of the shelf’s length, if needed.
- Place your items on the shelves and admire your handiwork!
Be Creative!
Install a single floating shelf – or more. You don’t need an even number of shelves, nor must they be the same length and vertically aligned. Try staggering several same-size shelves. Also, consider mixing short and longer lengths, to create the look you want.
Relax and Let Mr. Handyman Install Your Floating Shelves!
Don't have time for (or would rather not try) the do-it-yourself method? If so, you can do the whole project in just ONE step! Request service from your local Mr. Handyman online, or call to get professional, affordable handyman help in your home or business!
 Click to call


