How To Prepare Drywall Before Installing A Tile Backsplash
Installing a new tile backsplash is the perfect way to update your kitchen. But if you’re going to take on this project yourself, you’ll need to know how to prep the drywall for tile. A little work upfront will go a long way to ensure your new backsplash looks great and lasts for as long as you want it.
Before starting your tile backsplash project, start prepping the drywall for the tile. Lumps and bumps will lead to misalignment and crooked tiles, so you’ll have to smooth them out (more on this later). If your drywall is prepped, it will create a smooth and uniform surface for the tile to be evenly placed. The wall on which you place the tile is the foundation of your project. It will hold your beautiful backsplash together for years, but only if you take the necessary steps to properly prepare it.
Home improvement, especially drywall prep, can be a messy project. Before you start prepping drywall for tile, cover the area surrounding your work surfaces with tape and drop cloths. Sheets of cardboard or some thin plywood under the drop clothes add additional protection should you drop a heavy tile or tool on your counter or cook surface. Also, be sure to cover your sink, if it’s in the work area.
Since we’re on the subject of covering up and protecting areas around your kitchen, make sure you have the proper protection too. Protection for your eyes and hands is essential when removing old tile, sanding drywall, or applying adhesive and grout.
If all this sounds like too much time and effort, and you’re not interested in taking on this DIY project, find a local handyman. An experienced pro will have all the right tools and knowledge to prep the drywall before putting up any tile. If they don’t do the necessary work to prepare the surface, you picked the wrong person for the job.
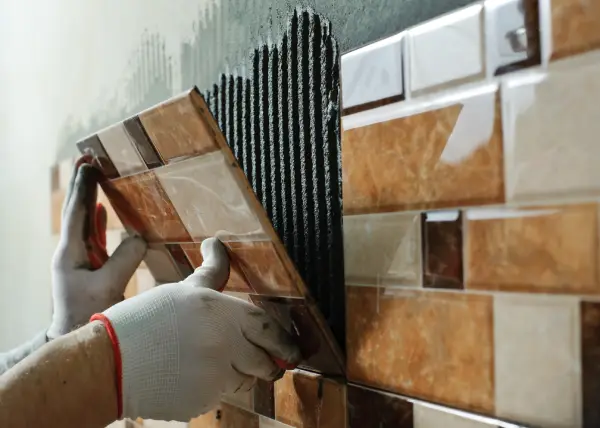
Preparing a Wall for Tiling
If you’ve decided to forge ahead and take a DIY approach to this project, there are some steps you need to follow to ensure your time and effort are rewarded. Our pros have outlined how to prep drywall for tile in the following five steps:
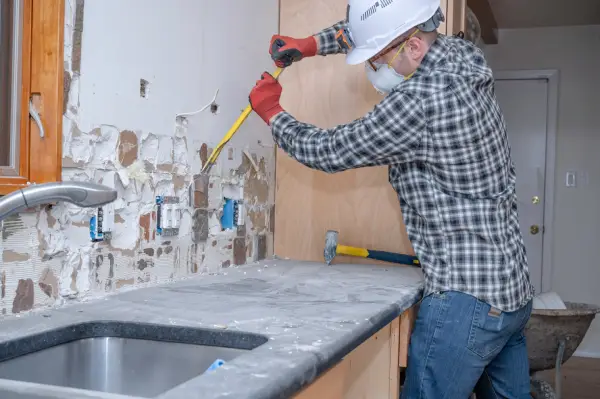
Step 1: Remove Loose Paint, Wallpaper, or Old Tile
It’s never a good idea to tile over loose paint or wallpaper, so it’s important to remove it. Before you start this process, though, remove any molding, switch plates, outlet covers, or other hardware that might get in your way. You want a clear surface to start your project. Once everything is clear, remove the old paint, wallpaper, or tile. After all the old material has been removed, check the surface for any defects, like holes or gouges that may have occurred when you removed the old material (more on this in step 3).
Step 2: Clean the Wall
Once your wallpaper and/or old paint is removed, it’s time to prep the wall for the new tile. If you need to remove a surface layer of dust, oil, or grease, use TSP (trisodium phosphate) or an ammonia-based cleaning solution. Let the wall dry before moving on to the next step of your drywall prep.
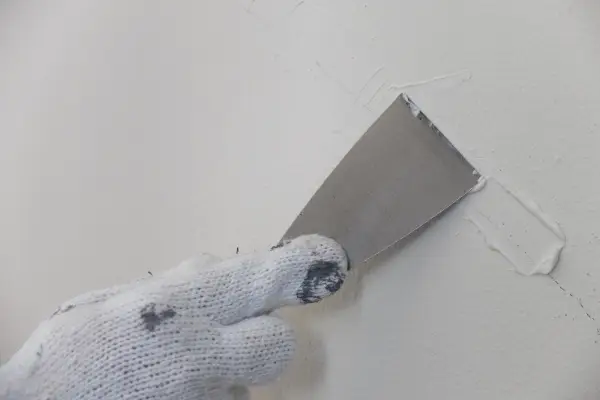
Step 3: Patch Any Holes or Cracks
If you gouged or damaged the drywall in the process of removing the old material, no problem. Use some drywall spackle to fill any holes or imperfections. Filling in gaps and/or holes will ensure a smooth surface for your new tile. Try to remove any excess spackle from the wall, as this will make sanding those areas much easier and reduce the amount of dust.
Use drywall tape and joint compound for any exposed seams and/or gaps. Make sure you let the spackle and/or joint compound dry completely (about 6 to 8 hours) before you move to the next step of your drywall prep.
Step 4: Sand the Wall
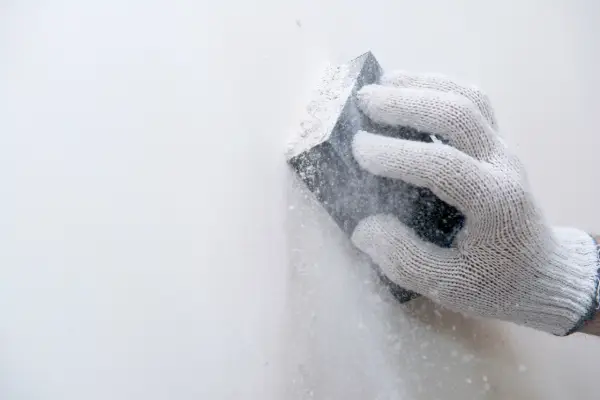
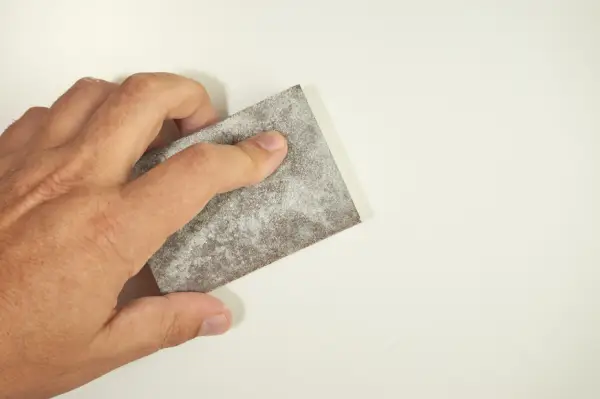
Once the spackle and/or joint compound has completely dried, you can begin sanding any rough areas to make the surface completely smooth. Before you start, a face mask and eye protection are recommended since this process will create a lot of dust.
Start with medium-grit sandpaper to smooth the area. Keep a vacuum nearby to remove the dust and to keep your work area clean. Once you have the top layer of spackle and/or joint compound sanded down, you can finish it off with some fine-grit sandpaper and a damp sponge to make the surface smoother and remove any dust.
Step 5: Apply Primer and Let It Dry Completely
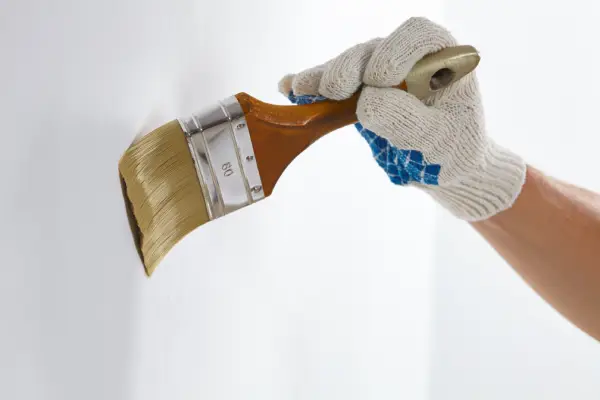
After spackling, sanding, and removing all the dust, the wall should be ready for a coat of primer. While adding a coat of primer is not essential for a wall covered by tile or wallpaper, it will help cover up imperfections if you decide to paint instead. Once you’ve primed the wall, let it dry completely! It’s important to complete the first four steps of this drywall prep to create an ideal surface for your new tile. Once you’ve completed them, you’re ready to tile!
Avoid All The Prep and Call The Pros
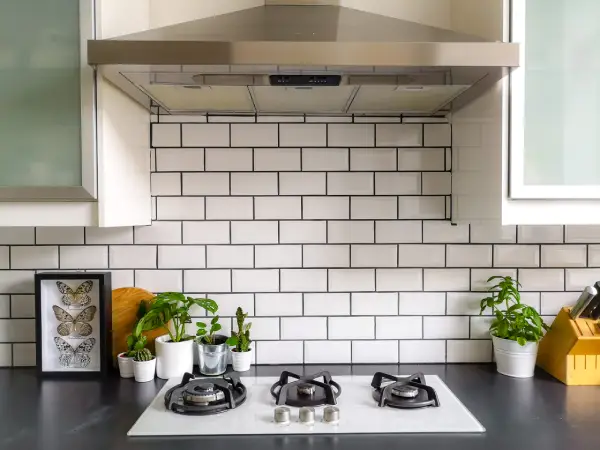
Depending on the type of material currently covering your wall and how difficult it is to remove, prepping your drywall for new tile can be quite a process. In addition, you’ll need the right tools, techniques, and patience to get the job done right. If you’re not interested in putting in all the time and effort that’s required, call the local pros to do it. The experienced pros at Mr. Handyman’s know exactly how to prep drywall for tile and can install the backsplash for you!
All of Mr. Handyman’s projects are backed by the Neighborly Done Right Promise™, which means your project will be done right the first time. Don’t put your home projects off any longer. Request service today!
 Click to call


