Last Edited: 10/10/24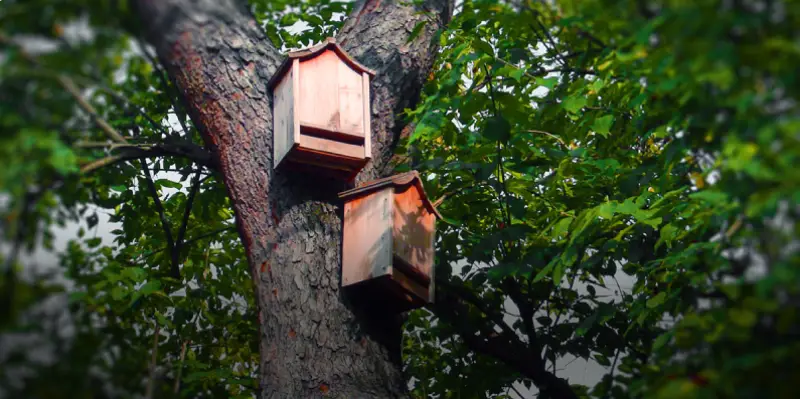
Mr. Handyman explains how to build a bat house to support local bat populations and reduce pests.
|
Do you live within a quarter-mile of a stream, lake, or river? Do you often see bats flying around your neighborhood at night? If so, your property could be perfect for a bat house. Here’s more information about how and why you should build a bat house, and where to mount it when you’re done.
Why You Should Build a Bat House
Building a bat house attracts bats to your property and encourages them to stick around. But why would you want bats in your yard? You may think of them as mysterious, blood-thirsty creatures of the night, but bats aren’t vampires.
In fact, the only things that should be afraid of bats are bugs. After all, a single brown bat can eat up to 1,000 mosquitoes and other insects in a single night. What’s better than free pest control?
How to Build a Bat House
Building a single-chamber bat house is easy. You can make one by using a few simple tools and supplies available from your local home improvement store. Here are all the instructions you need.
Materials to Build a Bat House
- Two 5.5-inch wide cedar fence panels (cut into six 15-inch strips) for the roof and face slats
- Two pieces of 1”x2” cedar (cut 30 inches long) for the sides
- A piece of 15”x34” plywood for the back
- GutterGuard wire mesh
- Scissors
- Staple gun
- Silicone caulk
- Exterior-grade screws
- Deck/siding wood finish
Tools to Build a Bat House
- Planer (or sandpaper)
- Table saw (or handheld circular saw and straight edge)
- Power drill
- Sander
- 220-grit sandpaper
Instructions to Build a Bat House
- Run the cedar fence panels through a planer to smooth the surface. If you don’t have one, you can simply sand the panels down.
- Cut your lumber to the dimensions stated above using a table saw or handheld circular saw and straight edge. To create an angle for the roof, cut each piece of 1”x2” cedar at a 10-degree angle on one end. Grab two cedar fence panels and match this 10-degree angle on one of the 15-inch sides of each panel. These will serve as the roof and the top face slat.
- Cut the GutterGuard wire mesh with scissors. Attach it to the plywood back and four of the face panels, including the one with the 10-degree edge, using a staple gun. This gives the bats something to cling to.
- Apply silicone caulk anywhere you join two boards together to weatherproof the bat house. Then, ensure everything is completely secure by drilling in rust-resistant, exterior-grade screws.
- Sand the constructed bat house with 220-grit sandpaper.
- Apply a protective deck/siding wood finish to ensure your bat house lasts.
You can find free bat house plans from Modern Builds.
Where to Mount a Bat House
Bat houses work best if they are hung on a sunny east- or south-facing exterior wall. Six to eight hours of direct sunlight is needed, and morning or mid-day sun is preferred. Make sure the mounting location isn’t near a bright porch light, above a window or anywhere you don’t want guano to accumulate. A tree or pole is ideal to keep it away from your house. Please heed this warning: the bat house should also be at least 20 feet away from the nearest perch to prevent predatory birds from snatching bats as they come and go. Also, be patient… it takes time for bat houses to become occupied!
Get Help with Exterior Home Projects
Building a bat house is probably only one of several projects on your to-do list. If you need help completing any exterior home projects, Mr. Handyman is the convenient, one-call solution you need. We handle tasks both large and small, always with professional results. Contact us today to request the services you need.
