Mr. Handyman explains how to perfectly hang three pictures in a row for a balanced look.
|
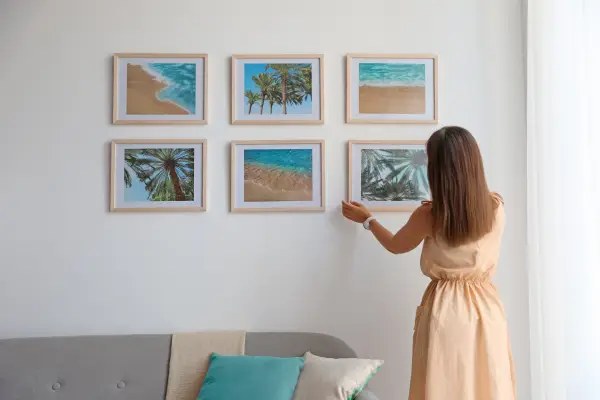
If you’ve ever walked into someone’s home and noticed unlevel pictures hanging on the wall, you probably had to fight the urge to run over and straighten them out. Even something as seemingly minor as an uneven picture can throw the looks of a home's interior off-kilter. The lack of balance doesn't mean they don't care—it probably means they don't know how to hang multiple pictures like a pro.
Hanging pictures to create a wall gallery is a wonderful way to fill empty wall space and show off art, photographs, and your family. However, the process takes a bit of precision and focus to get the gallery balanced, aligned, and looking good. These tips from our Mr. Handyman pros will help you create a masterpiece as precisely designed as it is unique.
Gather Your Picture-Hanging Supplies
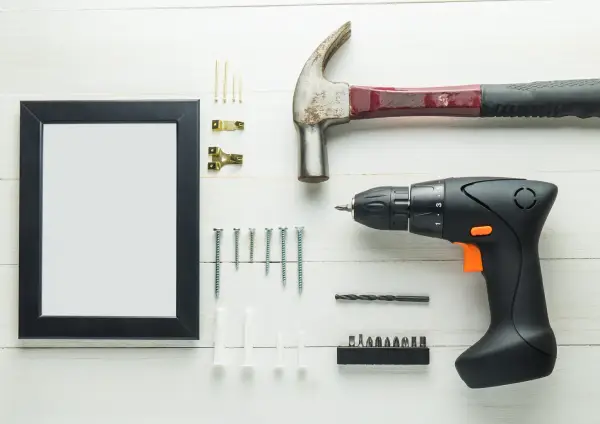
The first phase for learning how to hang multiple pictures is to gather the necessary tools and supplies. Place your artwork or photos safely to the side to avoid damage, and choose a convenient area for your supplies. Here's what you'll need for the job:
- Kraft paper
- Tape measure
- Hammer
- Pencil
- Picture-hanging level
- Blue painter's tape
- Drywall patch for holes
Once you've gathered your picture-hanging gear, it's time to take your project to the design phase. Consider how much wall space you have to work with and ensure the number of pictures you want to hang will fit without looking too cramped. It’s important to space the pictures out evenly to achieve a balanced look.
Plan Your Picture Layout
Investing time in designing the layout before you start putting holes in the wall will make the entire project easier and ensure a beautiful gallery. Grab your kraft paper and trace the shape of each piece of art, then cut them out. Use painter's tape to secure each cutout to the wall, then make adjustments until you find an appealing layout. Consider the overall shape of the gallery, the placement of different-sized frames, and the colors of the images. Take your time with the design phase, and you'll find lining things up just right will result in a layout you will enjoy.
Measure and Mark
The layout phase allows you the freedom to experiment and find the ideal look for your new gallery, but this phase is also about precise spacing. Galleries that display multiple images in one area typically place the pieces an equal distance apart for visual appeal. We recommend doing the same. A distance of three to six inches is a good rule of thumb vertically and horizontally (provided you have adequate space to do so). Also, be sure to leave adequate space between the gallery and nearby trim work or molding so things don't look crowded.
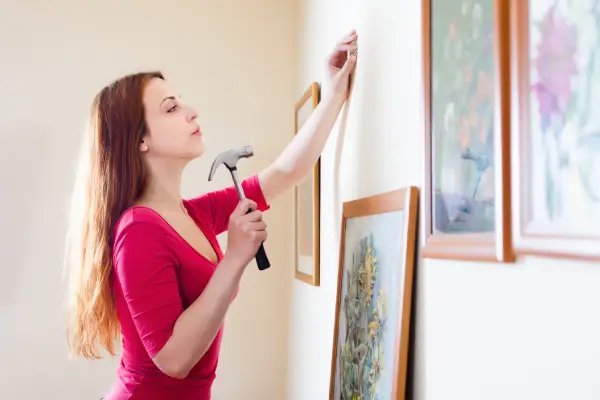
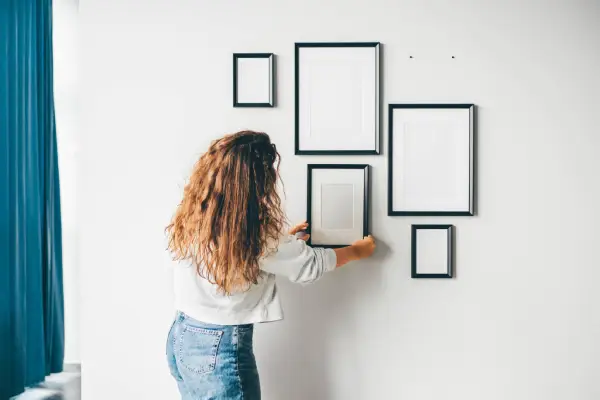
Hanging Multiple Pictures Step-by-Step
Once you have your ideal layout, check the surrounding space below, above, and beside your gallery. Step back and see if any furniture, shelving, or other items block the view or throw the gallery off balance. Make adjustments like moving a chair or decluttering knickknacks if they interfere with your new wall decor. Here's the best way to hang multiple pictures step-by-step:
- First, start in the middle and work your way out. Spend the most time focusing on that first picture since it will determine the placement of your other images and serve as the focal point of your gallery. That first image will set the spacing for everything else, so take your time to find the perfect spot.
- Pictures should be hung at eye level so they're not too high or too low. A height of about 5' 6" is ideal in most cases. You'll want to first hang the center picture to balance the two on each side.
- If your frames have a wire hanger, make sure each picture hangs at the same height from the wire; otherwise, you'll have to adjust the anchor point for each frame.
- To check the height, measure from the floor to the bottom of the first picture frame. This way, you'll have a reference point for hanging the remaining pictures, if you’re hanging them at the same height.
- Once you've determined the proper height for the first picture, mark it lightly on the wall using a pencil, which can be erased when you're done. Blue painter's tape is also handy, as it can be pulled from the wall without removing paint or leaving a mark.
A small level can take the guesswork out, ensuring your pictures are level. You can also use anchor points at the bottom of frames to ensure they remain where you want them, even when dusting!
Simplify Your Home Projects With Mr. Handyman
While displaying your pictures and art in a pleasing way is something you can probably handle on your own, there are many other home projects that require an experienced set of hands. If you have a list of home projects or repairs but not enough time or experience to complete them all, give your local home repair and maintenance experts at Mr. Handyman® a call. Whether it’s a leaky faucet or a ceiling fan that needs to be replaced, we can help you get it all done and done right.
Mr. Handyman is part of the Neighborly family of home service providers, which means all our work is backed by Neighborly Done Right Promise®, which guarantees your satisfaction. Do you have a home project or repair that needs to get done? Give us a call or request service today!
