Mr. Handyman guides you through installing DIY floating shelves for stylish, functional storage.
|
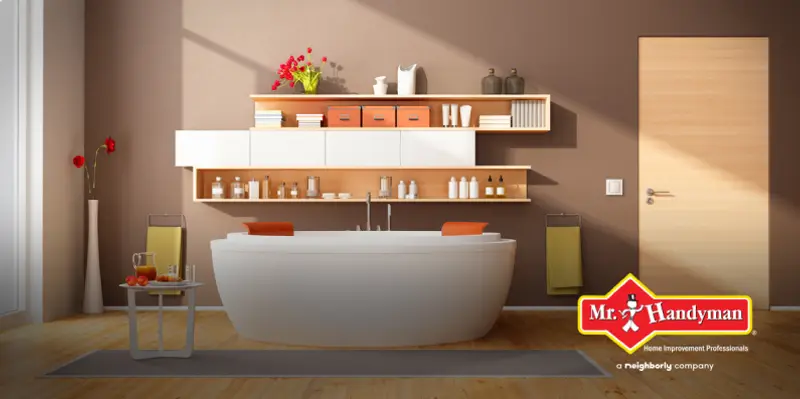
Budget-friendly and easy to install, DIY floating shelves are an amazing addition for any wall in your home. A project that doesn’t take long to complete, floating shelves offer attractive, practical storage for stowing books, art, bric-a-brac, and more.
DIY for Added Functionality
Though kits abound for floating shelves, such as those with rod-type brackets, adding DIY floating shelves gives you more freedom to mount shelves based on the layout of the room rather than the location of the wall studs, helping you maximize both storage and style. Add a single shelf, multiple shelves, vertically align shelves – or stagger. With DIY floating shelves, the only limit is your handyman capabilities!
How to Make Floating Shelves
1. Consider materials.
You can make floating shelves out of inexpensive MDF (medium-density fiberboard), or wood. MDF is cheap and easy to work with, but it must be finished and painted after construction. Wood will look nicer and last longer, but costs a bit more. Depending on the intended use of your shelf, you can stain it, or go au-natural.
2. Decide where you’d like to install shelves, and check for studs.
Determine how many shelves you’d like to add, and preferred placement. Using a stud-finder, check your wall to determine where studs are available. These will be your best option for secure shelving – but not your only one. If you think you’ve found a stud you may be able to use, drive in a test nail and check. If the nail goes right through, you’re in drywall. If it meets resistance, you’ve hit a stud (or plaster). If studs aren’t conveniently located to where you’d like to add your shelves, you can also use anchors.
3. No studs? Determine the right anchor for the job.
For drywall, you’ll need butterfly anchors. For plaster, hollow wall anchors. Always choose an anchor rated to hold MORE than the weight of the shelf and the items you plan to put on it. Consider upping the ante if you may use the shelves to store other/heavier items later. (Note: If you’re installing in a stud, you don’t need anchors.)
4. Gather equipment.
- Wood/MDF
- Floating shelf support brackets (1/3 longer than shelf width)
- Tape measure
- Level
- Appropriate wall anchors
- Power drill
- Screwdriver
- Screws
5. Install your floating shelves.
- Lightly mark where the shelves will be installed with a pencil.
- Measure and mark boards for attaching points, marking one point a few inches from each end. Heavy shelves, long shelves, and shelves holding a lot of storage weight will need one directly in the center.
- Hold the shelf up. Mark the pilot holes on the wall for each anchor. With your shelves and the help of a friend, use a level to ensure proper weight distribution and shelf stability.
- Drill the pilot holes with your power drill, keeping the drill square. Be mindful of choosing the right size bit. Too small and you’ll struggle with insertion. Too large your anchor/screw could pop out.
- Insert anchors following package instructions.
- Line-up shelf brackets with anchors, installing the brackets with a screwdriver into the anchors you placed in the pilot holes.
- Repeat for each shelf you plan to install.
- Slide your floating shelves onto the brackets and check with the level again.
- Install under-shelf lighting. Add functional lighting in busy work areas, or add dramatic spotlighting to artwork and collectibles with wired or battery-operated LED under-shelf lighting in bar, strip, or puck-style varieties.
- Decorate/stock your shelves and enjoy your handiwork!
Contact Mr. Handyman
Ready to put floating shelves in the spotlight at your home, but need a helping hand? Contact Mr. Handyman today!
