Mr. Handyman explains how to repair drywall cracks efficiently.
|
Drywall gives clean form and completeness to your interior walls. But all it takes is one hairline fracture snaking across the wall and your entire flawless aesthetic is thrown off. Besides bemoaning, “Why me?” you may also be asking yourself, why does drywall crack in the first place? While you may not be able to control the fissure fate of your walls, knowing the cause of your drywall defect can help you make a proper repair.
Why Does Drywall Crack?
The drywall is most likely to fracture at the seams where two sections of drywall converge. These joints are the weakest points of the wall and are the most susceptible to any upsets. There are many stresses that can cause the seams to crack.
Temperature changes can cause the drywall to expand and contract, exerting pressure on seams. This is common in vacation homes that are not climate-controlled full-time.
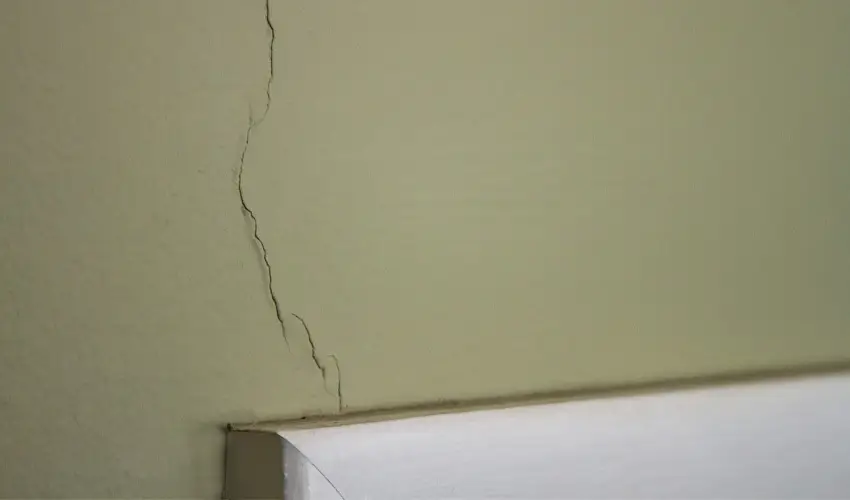
The settling of the dwelling itself can also be behind drywall cracks. This type of damage is usually identified by vertical cracks extending along the corners, windows, or door jambs of the room and may be common in either new build or older homes as they settle on the foundation.
Faulty installation may also be the root cause of a drywall fracture. A thin, straight crack in the drywall could be the result of drywall seams that are either improperly taped or were not covered sufficiently with drywall mud.
Take the time to investigate the source of the drywall stress before mending the wall to avoid repeated drywall repairs.
How to Repair Drywall Cracks
If the damage is more of a gap (wider than ¼ of an inch) rather than a slight crack, the entire drywall panel may need to be replaced or a more serious repair undertaken. Fortunately, slight cracks and hairline fractures in drywall are generally painless to repair. Here’s what you will need for a drywall DIY fix:
Tools
- Mud pan
- Utility knife
- 6-inch putty knife
- 12-inch taping knife
Materials
- Paper drywall tape
- Pre-mix joint compound
- Setting compound
- Painters’ tape (optional)
Step 1: Prepare the Area
If the crack is near any woodwork or trim, cover it with painter’s tape to protect the surface. Next, use the utility knife to cut a v-shape notch the entire length of the crack. Clear any debris from the cut (a shop vac could be handy).
Step 2: Apply Drywall Tape
Apply 1/8 inch of joint compound over the crack and embed a strip of drywall tape. Use the 6-inch putty knife to squeeze out excess compound and air from the strip of tape. Smooth out a thin layer of joint compound over the top of the strip, extending a few inches of the compound on each side of the strip. Let it dry completely.
Step 3: Smooth It Out
After the compound has dried, scrape off any excess or rough spots with the putty knife. Employ the 12-inch taping knife to apply a second or third layer of joint compound over the tape. Use long strokes to smooth out the compound. Feather it out 5 to 6 inches beyond each side of the tape. Once again, let dry, and then scrape off or sand any dry particles before painting.
Professional Drywall Repair
A fracture in your wall can be a downer, but it doesn’t have to be the demise of your pleasant interior space. Delving into why drywall cracks and narrowing down your particular cause can prevent the need for future repairs. Gather the proper tools, take your time, and that hairline fracture will be history! Still not sure how to repair drywall cracks? Give the pros at Mr. Handyman a call today or request an appointment online to handle drywall repair and more!
