How To Remove Kitchen Tile Backsplash Without Damaging the Drywall

If your kitchen looks like it would benefit from a refresh, but you don’t have the time or money to do a complete renovation, we have an idea that could give it a new look and feel without investing too much time or money.
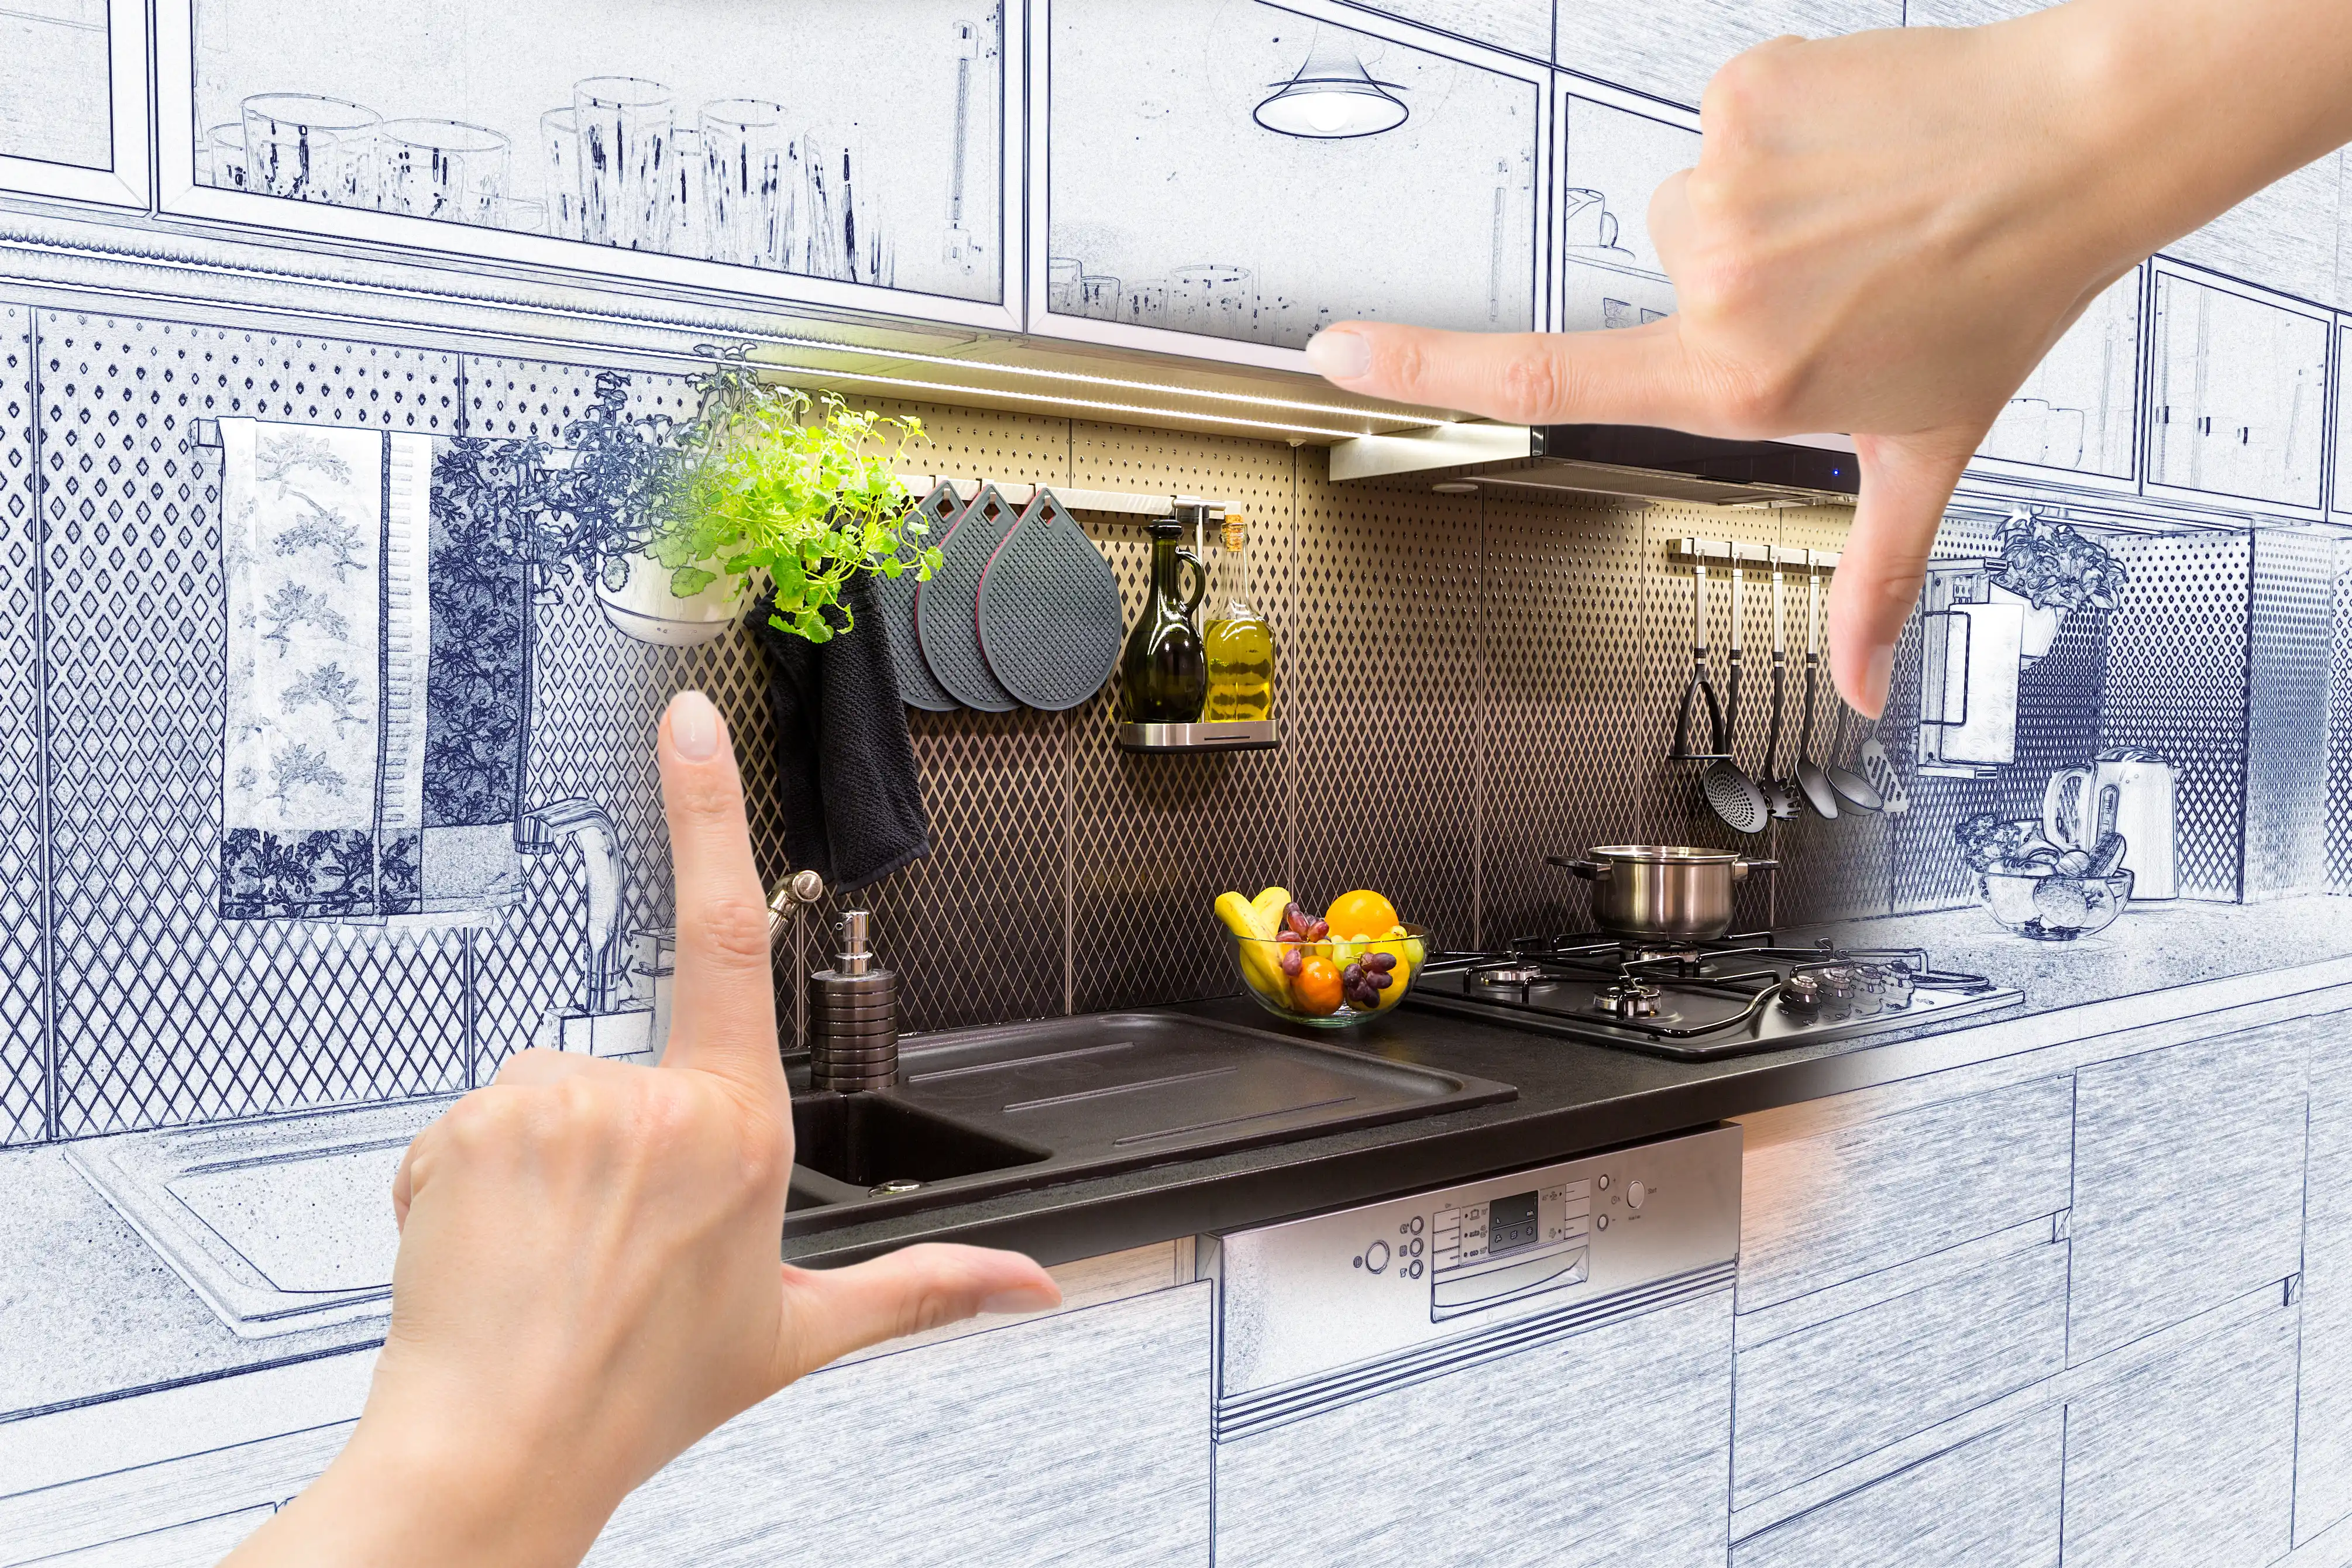
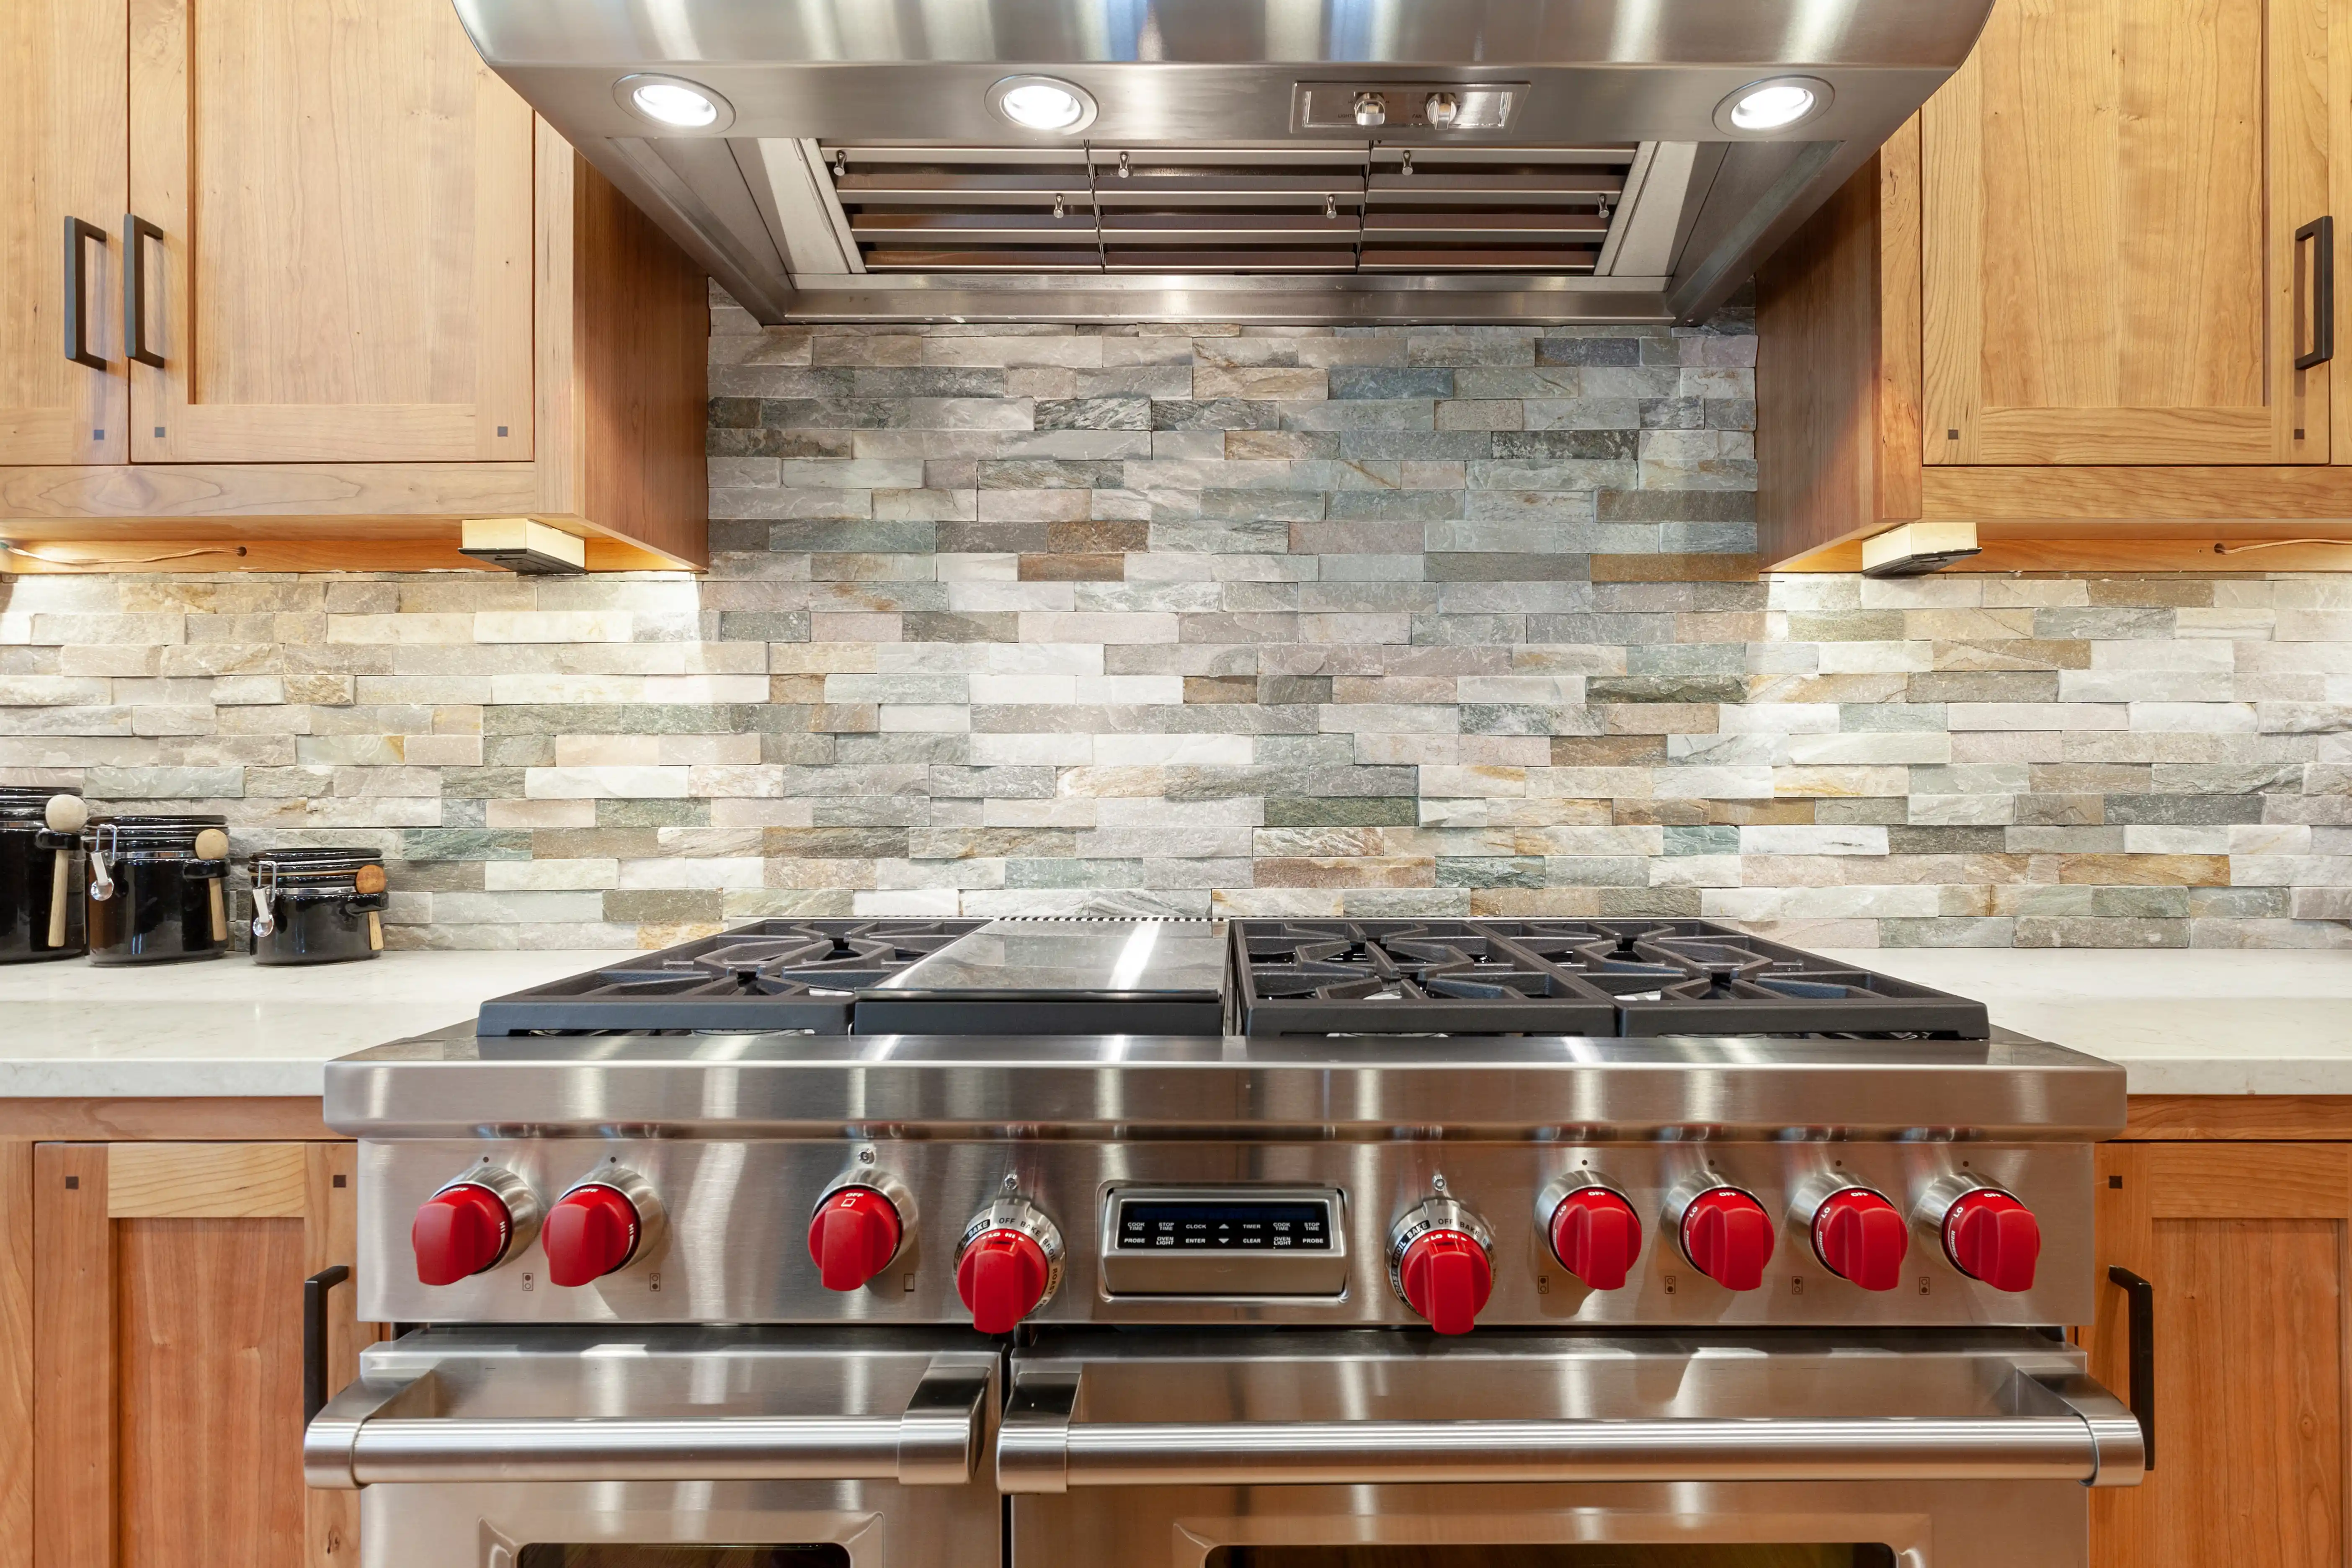
Replacing your old backsplash with something new is a great way to update your kitchen. A new backsplash can complement your cabinets and give an older kitchen new life. However, before you start chipping away at your old backsplash, it’s important to learn how to remove your tile backsplash in a way that won’t damage the drywall that supports it. First, let’s gather what you need to get the job done.
Gather the Necessary Tools and Materials
In order to remove your kitchen backsplash without damaging the drywall, you’ll need the right tools, some patience, and a bit of DIY skill.
here are the things you’ll need for the job:
- Hammer
- Utility knife
- Putty knife
- Sandpaper
- Electric or hand sander
- Drywall joint compound
- Drywall sanding pad
Once you have the right tools and materials, you can start preparing the area.
Prepare the Work Area
The first step to removing tile backsplash is to prepare the area where you’ll be working. To ensure nothing but old tile is broken, clear the counter of any odds and ends. This will give you easier access to the tile and tools you need to do the job.
Next, remove any outlet covers in your work area. As an extra precaution, cut the electricity to the area where you’ll remove the tile backsplash. Once you’ve cleared and prepped the area, you’re ready to start removing tile.
Remove Grout and Caulk
Now that your area is clean and prepared, it’s time to get started, but before you do, make sure you have taken the necessary safety precautions - wear goggles and gloves. Then, begin by removing any grout or caulk, keeping the tiles in place.
If you are removing a water-based caulk, you can soften it with warm water and a towel. Once the caulk is soft enough, use a straight razor to score and remove it.
If you are removing silicone-based caulk, you’ll want to use acetone or alcohol instead of water to remove it. Once it’s soft enough, follow the same removal process using a straight razor. Removing the grout or caulk will give you easier access to the tile, and make removing it easier.
Loosen and Remove the Tiles
Now that you have removed the grout and caulk, it’s time to remove the tiles. Use a putty knife or a pry bar and hammer to carefully loosen and remove the tiles. This part of the process calls for both strength and finesse. It requires some strength to wield the hammer and putty knife or pry bar effectively and finesse to avoid damaging the drywall as you remove tiles.
Remove the thin-set or Mastic
Once the tiles are removed, you’ll likely see a coat of adhesive left in some areas. If the adhesive is rock-hard, it’s chipset, which is a cement-based product. To remove this, you’ll need a stiff putty knife and a lot of elbow grease. Carefully scrape the old thin-set off the wall using the putty knife, again, be careful not to damage the drywall.
If the adhesive is softer, it’s mastic. In order to remove the mastic, use 120-grit sandpaper to sand down the adhesive carefully. Before you start this process, it’s best to wear a mask, and if possible, section off the area to contain the dust that will result from sanding down the mastic.
During the removal of the tile or the adhesive, you may gouge the drywall. While you should try to avoid this, in some cases, it’s unavoidable. If you do accidentally gouge the wall, apply drywall joint compound to fill the hole using your putty knife. Once the compound has dried, sand it smooth. Before moving on to the next step, make sure that the joint compound is completely dry.
Once everything has been removed, and the entire space with 120-grit sandpaper using a drywall sanding pad (don’t forget your mask).
Clean Up and Dispose of Debris
The final step in this process is to clean up your work area. Make sure everything you remove, whether caulk, old tiles, or adhesive, makes it into the trash can. Cleaning this area now will make installing the new backsplash easier. Plus, you may need to use your kitchen before the job is completed and you don’t want to deal with construction debris when you’re preparing or enjoying a meal.

Refresh Your Kitchen With a New Backsplash
If you plan to replace your old backsplash with a new one, you’ll need to apply a new layer of adhesive.
Now that you have a clean workspace, r learn how to design a new kitchen backsplash that will refresh the look and feel of your kitchen.
Need Help? Contact The Pros
If removing old tile backsplash doesn’t sound like your idea of a fun day, you can always call in the pros at your local Mr. Handyman! Our experienced and knowledgeable professionals know exactly how to remove your old backsplash without damaging the drywall behind it. We can also install a new one for you, and we’ll make sure everything is cleaned up when we’re done. Whether you need help completing a backsplash or other projects around the house, we can help you get it all done! And since all our work is backed by the Neighborly Done Right Promise™, you know the job will be done right the first time. Find your local handyman and get the help you need today!
 Click to call


