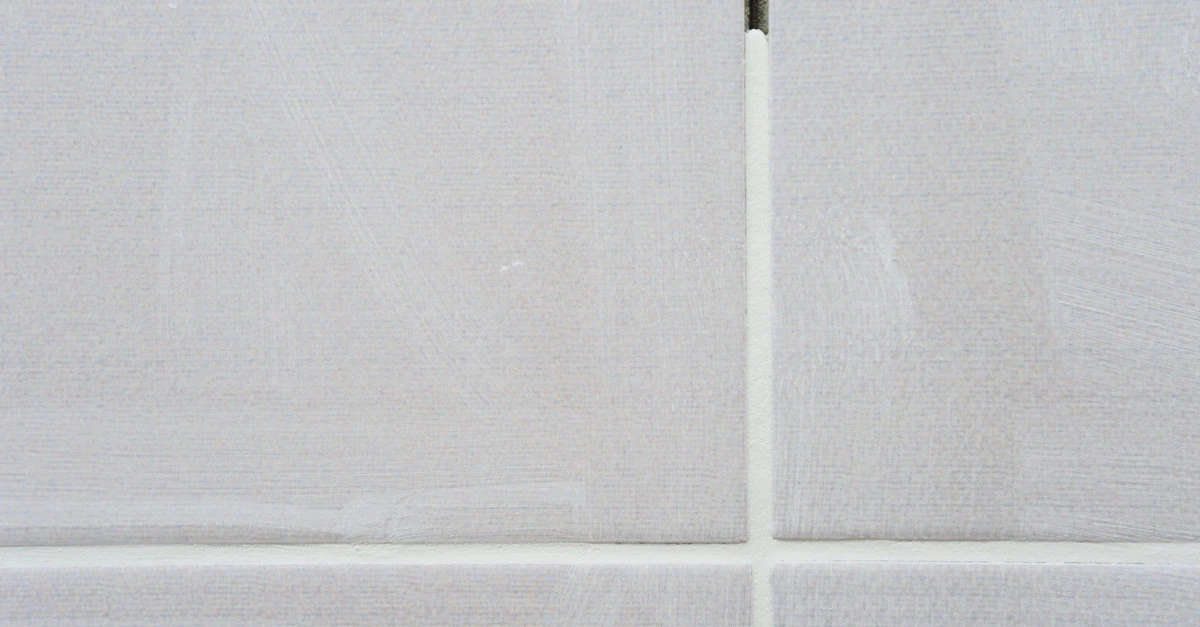
We will find grout applications throughout our Norfolk home, whether it’s in the bathroom, kitchen, or flooring system. We think the point is to marvel at our tile installation rather than the grout itself, which holds our floors and walls safely in place. But if we look closely, we notice it adds character to the overall appearance.
This is when we become aware that Norfolk grout repair plays a huge role in maintaining our tiles and their stability. Its purpose is to lock tiles tight and resist water. When it stains, cracks, or falls out, we panic that the whole system will break. You wonder what’s the first step to take and what to do to fill the void.
Don’t despair if you’re lost or are unsure if you have underlying problems underneath your tile installation; our expert Norfolk County handyman has all the answers you need!
The experienced team at Mr. Handyman of Central-Eastern Norfolk County & S. Shore brings an average of ten years of experience, whether it’s laying tiles, fixing them, or applying new grout lines. We are here to help.
What Are The Types?
Before we move on to Norfolk grout repair services, we should familiarize ourselves with the different types available, and perhaps that will help you recognize what you use at home.
- Epoxy: Experts highly recommend epoxy for its durability and resistance to stains and moisture. When handling epoxy, you need to be able to work fast and efficiently because it takes little to no time to settle.
- Cement-Based: Sanded or cement-based are popular among DIY professionals. When you add sand to cement and water, it becomes more resistant to cracking and creates a stronger bonding effect. Sanded lines wider than 1/8 inch help provide a non-slippery surface and also prevent shrinkage. Unlike epoxy, it sets slower, giving you more room to readjust if needed.
- Non-Sanded: This is suitable for joint spacing lines of 1/16 or 1/8 of an inch. Without the sand, it’s more prone to cracking. Its sticky components make it work well on vertical walls.
Signs You Need Norfolk Grout Repair And What To Do
Inevitable signs include cracking and crumbling, which you can’t ignore because they will lead to major problems like water damage. Moisture will seep through the cracks and damage your drywall and floorboards.
Signs of water damage include:
- Water building around the tub or shower
- Musty smells
- Cracks & holes in grout lines
The only way to determine and see the damage is to remove the tile plates to check.
But this doesn’t always mean you have water damage, but it’s safe to take it into account and have a handyman technician look at it. But as soon as you notice cracks that weren’t there before, you will need to scrape out the old grout and clean the area accordingly before applying a new joint line to fix it. While this is DIY-friendly, we still recommend hiring your local Norfolk handyman to inspect the damage in more detail. They have the right tools to give you a thorough diagnosis and investigate if your walls or subfloors are in good condition. It’s not until they confirm that no underlying issue has caused the cracks that you are finally safe to apply the new layer.
Bathroom grout repair takes patience and precision. If you have nervous hands and are worried about chipping tiles, our local Norfolk handyman is happy to take this burden off your shoulders.
The main causes that lead to shower grout repairs are when you didn’t hire a good professional for tile installation in the first place. Or you didn’t maintain them well (cleaning, resealing). At Mr. Handyman, we ensure that we provide quality service backed by our done-right promise.
DIY Tools
If you have experience with kitchen grout repair or other areas, ensure that you have the necessary tools at all times. It’s best to have pro tools like an oscillating tool with a grout removal blade and a reciprocating saw with a grout grabber blade. But these aren’t tools that Norfolk homeowners use on a daily basis. On many occasions, thin chisels and screwdrivers are effective but require more time than the assigned tools, and we don’t recommend them.
Norfolk Grout Repair on Tile Floor
If your tile floor was installed correctly, you shouldn’t see major problems arising unless you have damaged floorboards that need deeper investigation. But normally, grout on floors gets dirty fast and needs regular cleaning maintenance to stay in shape. If your floor’s interior is in good condition but has cracked grout, it will be safe to scrape out the old later and apply a new one.
Shower Grout Repair
Showers are susceptible to grout damage on the walls and around the floor drains. Fortunately, it can be an easy fix if no severe damage is involved, such as structural damage behind the shower wall. If you notice any holes, take immediate action. For pinholes, you might be able to fix them with a quick patch, whereas larger ones require digging out. Try to determine how much you need to remove first and how much you need to reapply.
If you’re uncertain about your shower’s overall condition, your local handyman of Central-Eastern Norfolk County & S.Shore can check it for you. Sometimes homeowners are unsure how much grout to remove or how to caulk the corners of their showers. We understand that bathroom grout repair can come with underlying issues that a certified professional should investigate.
Pro Tip: Before applying new joint lines, we recommend using denatured alcohol to clean the edges and remove dust and residue. Give it time to dry.
Grout Repair Joint Sizes
Some DIY professionals struggle with joint sizes. The last thing they want is a sloppy-looking job. The thinnest joint line that we recommend is 1/8 inch, but that mainly suits tiles with rectified edges, which means they are ground, polished, and sharp.
In most cases, larger sizes require bigger joint lines to become less visible, and it can also facilitate the installation process. But joint lines shouldn’t be larger than 3/16 inches.
As a rule of thumb, we recommend paying close attention to your tile size as it will highly depend on that and whether it’s for the floor or the wall.
Expert Tips
- When you have your mix ready to go, let it set for about 15 min. This process is called “slaking” and allows the mix to absorb all the moisture properly. Afterward, give it another stir and even add more powder and water if needed.
- Use your float and apply the grout to the wall with upward strokes.
- Hold your float at a 45-degree angle and fill the joint lines by pushing the grout in
- Your float should have a rounded corner that allows you to shape the joints.
- Use a clean, damp cloth to remove any excess residue.
- Remove any grout from inside corners (using a utility knife) to apply caulk.
- Remember to apply spray sealer on floor tile and porous stone “before” you grout! Otherwise, it will stick and be a nightmare to clean.
Frequently Asked Questions About Norfolk Grout Repair Services
Can I Put A New Layer on An Existing One?
To an extent, yes. If you notice small cracks and holes, we recommend carefully removing and scraping out the dirty and excess grout from the surface and wiping off the dust and broken pieces with a damp sponge. Afterward, it should be safe to apply a new layer. You might be better off using epoxy grout over cement and always remember to use a grout float and wear rubber gloves when applying a new layer. If you’re worried about causing more damage to the existing cracks, your local Norfolk handyman will do it for you.
Can Water Leak Through the Tile?
Yes, and this is a risky one. Water leakage through the tile is generally unlikely if properly installed and sealed. Ceramic or porcelain tiles are non-porous and do not absorb water, making them resistant to water penetration. However, water can seep through the grout lines or cracks in the tile installation if they are not adequately sealed or if the grout has deteriorated over time.
To prevent water leakage, ensuring proper installation and maintenance of tile surfaces is essential. This includes using appropriate waterproofing materials, such as a waterproofing membrane or sealant, in areas exposed to water, such as bathrooms, showers, or outdoor tiled surfaces. Regular inspection and til grout repair are also recommended to address any signs of damage or deterioration. Grout failure is often the result of shower leaks, resulting in needing a shower grout repair from a plumbing specialist. If you notice leaky tiles, shut off your water immediately and call for assistance.
What Type of Grout Should I Always Use?
Good question! The type you choose can determine your tile’s lifespan, but it also depends on where you apply it. The type of grout you should use depends on your project’s specific application and requirements. Here are some common types of grout and their recommended uses:
- Cement-Based Grout: This is the most widely used type of grout and is suitable for most applications, including interior and exterior tiling. Cement-based grout is available in sanded and unsanded varieties. Sanded grout is ideal for wider grout lines, while unsanded grout is suitable for narrower ones.
- Epoxy Grout: Epoxy grout is a highly durable and stain-resistant option. It is resistant to moisture, chemicals, and cracking, making it suitable for areas with high humidity, heavy foot traffic, or exposure to harsh substances. Epoxy grout is commonly used in commercial settings, kitchens, and bathrooms.
- Modified Cement-Based Grout: Modified cement-based grout is similar to regular cement-based grout but includes additives for improved performance. It provides better flexibility, crack, and water resistance than traditional cement-based grout. It is often recommended for areas prone to movement or moisture, such as shower floors or exterior tiling.
When choosing the grout for your project, consider factors such as tile type, joint width, exposure to moisture, and the desired level of durability and stain resistance. Usually, we recommend epoxy as it’s the most durable and resistant to stains and water damage. If you use strong cleaning materials, we suggest low-acid.
Do I Need To Seal My Grout?
Definitely, especially if it’s an area with a high moisture level, like your bathroom, and you’re using cement-based. Besides, grout is porous and won’t stay waterproof if you don’t seal it. You might want a sealant that soaks through appropriately and creates an effective barrier. On the other hand, epoxy is sturdy enough to hold against moisture; it’s practically pre-sealed and won’t need sealing.
Is Grout Color Important?
Material-wise, no; design-wise, yes. We understand there are many options, and pairing your tile with the corresponding color can be challenging. Remember that dark colors hide stains well, but they can fade over time and stain light-colored tiles. Sticking to neutral is safest if you prefer to avoid color-matching issues.
What Is Grout Release, And Should I Use It?
It’s a temporary water-soluble pre-grout coating that protects against mortar and stains. It’s designed to make cleaning up easier after your grout repair and prevents stubborn stains from settling on the tiles. While it has served wonders for professionals, it’s not required unless you’re working on porous materials like natural stone.
My Grout is Discolored. How Do I Clean It?
If a regular cleaning agent doesn’t help, try a bleach or hydrogen peroxide spray-on product. To clean discolored grout, follow these steps:
-
Mix a grout cleaner or baking soda paste.
-
Apply the cleaner to the grout and scrub gently.
-
Let the cleaner sit for a few minutes.
-
Scrub again and rinse with water.
-
Dry the grout and check for remaining stains.
-
Repeat or try a specialized grout stain remover if needed.
Remember to test new cleaning products and methods on a small area first. Regular grout cleaning and sealing can help prevent future discoloration.
What are the Chances of Mold Growth?
You shouldn’t have mold problems for at least 15 years if you’ve had a proper installation service where everything is well-sealed and caulked. You should call the pros if you are unsure or if your shower gives off a musty smell.
How Is The Application Different From Kitchen To Bath?
There is no difference in application but in location. The grout is more exposed to water in your bathroom, whereas your backsplash isn’t. Still, both need regular cleaning and maintenance to remain in good shape.
What Are the Preventative Measures That I Can Take To Keep Tiles Clean?
Regular cleaning is the way to go. You can never go wrong with combining white vinegar with mild dish soap and hot water. But if you want to maintain your ceramic tile grout and have it last longer, adding some bleach will help keep the natural colors. It’s never a bad idea to have a certified handyman inspect the tiling system’s overall condition and get a proper tile grout cleaner.
What Tools and Supplies are Needed to Repair Grout in the Shower?
For repairing grout in the shower, tile repair, and general cleaning and maintenance, you may need the following tools to give you peace of mind:
- Grout brush or clean toothbrush: These brushes have stiff bristles that help scrub and clean the grout lines.
- Grout saw or grout removal tool: These rotary tools remove damaged or deteriorated grout before applying new grout.
- Grout float: A grout float is a rubber or foam tool that applies the grout mixture into the joints between tiles.
- Damp sponge: A wet sponge wipes off excess grout powder and cleans the tile surface after grout application.
- Sealer applicator: This tool helps apply grout sealer evenly and efficiently to protect and seal the grout lines.
- Utility knife: A utility knife is handy for cutting and shaping grout lines when necessary.
- Scraper: A grout scraper removes old or stubborn grout residue from the tile surface.
- Grout colorant: If you want to change or enhance the color of your grout, a grout colorant or grout stain can be used. This is especially common when households want white grout.
- Grout pen: A grout pen allows easy touch-ups after everything is repaired and cleaned. Grout pens can even change the color of your grout to white grout if you want.
- Dust mask: When sanding or around strong smells, a mask will easily protect you from breathing in anything harmful.
- Safety glasses: Proper eye protection when sanding any material is needed to protect you.
- Rubber gloves: This will protect your hands and make clean-up easier once the job is finished.
These are some standard grout replacement, cleaning, and repair tools. The specific tools required may vary depending on the size of the project and the condition.
Get Professional Massachusetts Grout Repair Service!
Whether you’re in Walpole or a nearby area of Massachusetts, such as Marshfield, Duxbury, or Braintree, you can rely on the certified pros at Mr. Handyman of Central - Eastern Norfolk County & S.Shore for quality workmanship and outstanding customer service. Our handyman team prioritizes customer satisfaction to ensure you have a safe, hassle-free experience.
Give us a call today to request service or chat with our friendly customer service representatives. Let us know how to enhance your home and make your life easier!
