Which area in your home is your least favorite to clean? Believe it or not, there are multiple polls where you can participate and cast your vote! While vacuuming the living room floor and wiping down the kitchen are among homeowners’ favorite cleaning activities, the least popular household chore is bathroom maintenance. The reason for that is simple.
The space where you spend a lot of time dwelling or being productive is the most enjoyable when it’s clean. Most of the time, those are also the easiest areas to maintain and keep clean, whether it’s dusting surfaces or sweeping away crumbs off the floors. While all that can be done within minutes, bathroom maintenance will require a bit more elbow grease!
Our expert team at Mr. Handyman has listened to our customers’ concerns and knows how the lack of maintenance is the main culprit for common bathroom repairs, such as regrouting, caulking, or removing water-damaged drywall from behind tiles. Therefore, we decided to equip our valued customers with a complete bathroom maintenance checklist. Not only will you save yourself future repairs, but you will also have a cleaner and more efficient bathroom where you can pamper yourself more comfortably.
Getting Organized
When people talk about daily home maintenance habits, they refer to cleaning as you go, during which they do their dishes right after eating or wipe down the shower or tub straight after use. But when you lead a busy life, you have other priorities and want to save as much time as possible. In that case, you may have to pick a specific day to dedicate at least three hours to this bathroom maintenance checklist.
However, that doesn’t mean that you can’t pick one task at a time. In fact, that may even work out better if your schedule is full, and you can only dedicate so much time to one thing.
Small Vs. Large Bathrooms
A lot of homeowners’ bathroom maintenance habits depend on size. If your bathroom is small, you will likely want to keep it as organized as possible, with only essential materials that don’t take away too much space. Clutter makes your bathroom less charming and inviting, and it will also lack efficiency. As long as it’s possible to keep as many items off your floors, you’ll be able to maximize space and facilitate any maintenance duties.
Although cabinet installations are common in bathrooms, we recommend only having one base cabinet if your space is small. You may have to really narrow down to the things you really need, from toiletries to towels. If that is difficult to organize, check the height of your ceiling and see if it’s convenient to install a shelving unit or two above your toilet or door. This would greatly alleviate any stress of your bathroom maintenance duties. If you have too many bits and pieces, we recommend getting small stackable drawers, but do ensure that your overall setup is neat and organized. Otherwise, it could throw you off and demotivate you from any bathroom maintenance task.
On the other hand, bathroom maintenance in a larger space is a different story. Spacious baths may have a double vanity with floating cabinets, a separate bath and shower, towel racks, and a wardrobe. Still, the idea is to keep as much off your floor as possible to help maximize space. For example, the idea of floating vanities is to get the illusion of an expanded floor and increased space, no matter the size of your bathroom. Maintenance will be a lot easier without clutter on your floors and countertops. Only keep a small trash bin in the corner and, if possible, mount your toilet brush holder against the wall, so it’s off the ground, and keep your toilet plunger in your garage.
Finding your motivation for bathroom maintenance requires a well-organized space that facilitates cleaning. If you’re not happy with your bathroom’s overall design, hire Mr. Handyman for a bathroom remodel that will help optimize your bathroom maintenance.
How To Maintain A Bathroom
Aside from your kitchen, your bathroom is another area that is exposed to high humidity, if not more when you’re a lover of long hot showers! For that reason, having efficient ventilation and tiles are crucial to protecting your materials. Now, do you want to start with the easy or difficult part of your bathroom maintenance?
Essential Preparatory Steps:
- Before you begin with your bathroom maintenance, ensure that you have removed all items and products from surface areas, from your countertop to shower caddy and decorations.
- Remove any bath mats and rugs and throw them in the wash.
- If you have a shower curtain, take it off the rod and also put it in the wash.
- We also recommend giving your drawers, cabinets and shelves a wipe-down, because hair, dust and other debris tend to settle there. Store your toiletries in a separate box during your bathroom maintenance, but keep your cleaning supplies nearby!
All that’s left should be clear surface areas and plumbing fixtures that are awaiting a deep scrub!
Gather Your Cleaning Supplies:
- Rubber gloves
- Sponge
- Clean cloths (microfiber)
- Scrub brush
- Old toothbrush
- Grout brush
- Spray bottle
- Wrench
- Antibacterial cleaning wipes
- Dish soap
- White vinegar
- Baking soda
- Hydrogen peroxide
Note: Please note that Mr. Handyman believes in protecting our environment and, therefore, we do not believe in using harsh chemicals for bathroom maintenance. There are many natural household products that are just as effective and help us sustain our environment.
- How To Clean A Bathroom Exhaust Fan
The best way to clean is to start from the dusty top. The exhaust fan is the most crucial part of bathroom maintenance because efficient ventilation is key to removing excess humidity and protecting your materials, especially if you don’t have an additional window to let out hot air and steam. It doesn’t take long for your exhaust fan to collect airborne particles while sucking out moisture and odor from your bathroom. During that process, the surface of your exhaust fan and lid cover will become moist and trap dust and debris. One morning, your mirrors might fog up faster than usual, meaning that it’s time to get your ventilation back in gear.
- Ensure power is off before you remove the vent cover. Most vent covers are held against the wall or ceiling with mounting wires which you can easily unhook and take out. If your exhaust fan has a light, it should have a press-and-release mechanism. Be sure to loosen the metal wires first.
- Soak the vent cover in soapy water until debris loosens up, then use a cloth or brush to scrub off any remaining dirt.
- Allow it to air dry.
- Moving on to the fan: the best way to start is with your vacuum cleaner. Attach the brush head and remove as much dust and debris as possible.
- Use a damp cloth to wipe around the fan blades and housing to remove any remains.
Add a little extra!
- For homeowners who want to be thorough with every detail of their bathroom maintenance, there is a lot more to clean—such as the fan motor. This will require you to disassemble the fan unit by unscrewing and unplugging it from the housing.
- The motor and housing will require some vacuuming and a wipe-down.
- When done, give them time to dry before reassembling the unit back to its place.
- How To Clean Shower Heads
There is a reason why there is an order to this checklist! Not only should you start with cleaning the dustiest parts during bathroom maintenance, but it’s also recommended to get the most time-consuming tasks out of the way first. In this case, it’s the shower head.
Have you been experiencing a decrease in water pressure? Before you assume it’s a plumbing issue or a defective valve, let’s give it a scrub first to see if it’s merely clogged with mineral deposits.
Option 1:
- One of the best ways to decalcify your shower head is to soak it in distilled white vinegar. Handheld shower heads you can easily submerge in a bucket, whereas wall-mounted ones should be covered with a sandwich bag filled with vinegar. Use a zip or hair tie to secure the bag in place.
- After a few hours of soaking, run the water for a minute and wipe around the shower head.
Option 2:
- Dismantle the shower head with a wrench and check for any limescale and debris.
- Fill a bowl with white vinegar and baking soda and let the shower head and other parts soak in for a while.
- Use an old toothbrush to clear off any remains.
- Rinse all the items before reassembling
Note: While this is useful cleaning advice, it may not solve your water pressure problem. If you suspect that you may have a faulty valve, Mr. Handyman is more than happy to replace the shower head for you, which will end up being more cost-effective than replacing the valve.
- How To Clean Shower Doors
- One of our favorite parts of bathroom maintenance is reviving shower glass doors. Mist the panels with vinegar using a spray bottle. Allow it to soak. This way, it will better break down the limescale.
- Use a sponge gently scrub off any remaining white marks.
- Rinse the glass with water and repeat if needed.
- Use a microfiber cloth to dry.
Pro Tip!
- Shower door tracks are usually made of metallic materials and can also have mineral buildup. Spraying and wiping them down regularly will reduce the risk of rust. Allow the vinegar to sit for a few hours before using a toothbrush to scrape off any gunk and stains.
- To maintain a good maintenance habit, keep a squeegee inside the shower, so you'll remember to wipe down your glass doors after every shower.
- You may also need to occasionally replace the caulk around the edges of your shower doors using a caulking gun like the one seen in the image below. Keep an eye on the seals in your shower so you can plan to replace them as soon as they look worn out.

- How To Clean A Bathtub
It is said that a bathtub may harbor more bacteria than a toilet seat. If your bathtub is the same space where you regularly take a shower, it makes sense that soap residue and dirt get stuck in various areas of the tub. Over time, grime, limescale stains and even mold could form on the surface. Most homeowners tend to use cleaning products that contain bleach, which is OK if you want to thoroughly scrub your bathtub spotless and kill all bacteria. Our solution involves the use of white vinegar.
- Dilute vinegar with warm water in your spray bottle
- Spray evenly on your bathtub’s surface areas and let the solution soak.
- Wipe the tub down with a clean microfiber cloth.
- Give your tub a full rinse and wipe it again.
Pro Tip for getting rid of hard water stains, mildew and grime
- Create a mixture with vinegar and baking soda and apply the paste on the affected areas. Let it sit for 15-30 minutes before scrubbing it off with a sponge or cloth.
- Create a mixture with hydrogen peroxide and baking soda and do the same as above!
Pro Tip: Your bathtub has a protective coating, so we do not recommend that you use any abrasive brushes to scrub the surface.
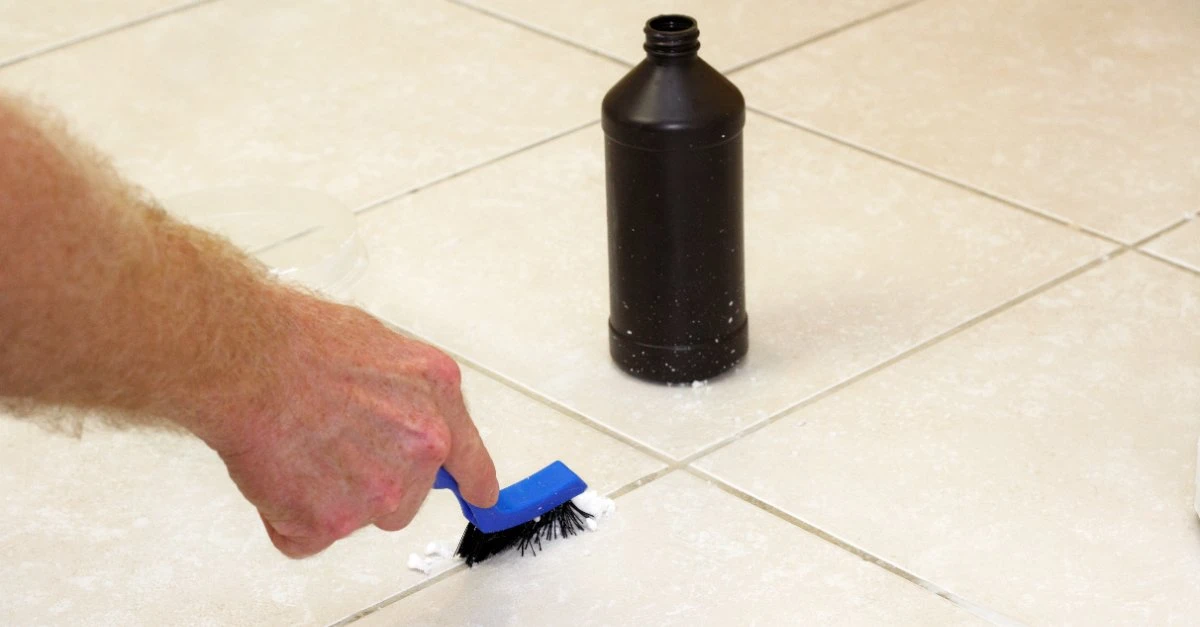
- How To Clean Shower Tile
As you can imagine, white vinegar is the king of bathroom maintenance, it’s also of great use for cleaning tile!
- Simply spray vinegar and warm water evenly on your shower tiles and let it soak and break down the limescale.
- Create a separate paste of vinegar and baking soda.
- Use a medium-bristle brush to scrub the grout lines (Alternatively, you can also apply some hydrogen peroxide to the mix!).
- Be sure to use as little water as possible and keep an eye on specific grout lines that may need to be replaced.
- Wipe down with a microfiber cloth.
Repeat every week for the best results. This way, you won’t be dealing with regular white marks on your tile.
- How To Maintain A Toilet
If you are like us and prefer not to use commercial toilet cleaners for your bathroom maintenance duties, you are at the right place. Though there are environmentally-friendly cleaners that are plant-based and just as efficient as the products mentioned above.
- Pour half a cup of hydrogen peroxide as evenly as you can in the toilet bowl.
- Pour down a full cup of baking soda next.
- Allow this mixture to work its magic for about 20 minutes.
- Use your toilet brush to scrub the bowl and flush.
- To clean around your toilet, spray it with antibacterial soap or vinegar. If you have stubborn stains you want to remove, create a paste consisting of hydrogen peroxide and baking soda.
- Use a cloth or sponge to wipe it clean.
- We know that some homeowners prefer not to reuse dirty cloths that have been used on the toilet. In that case, paper towels are also an option. If you do decide to use antibacterial wipes, please remember that neither wipes nor paper towels should ever be flushed.
- Leave Floors And Countertop Till Last!
Dust, hair, cobwebs and splashes of dirty water might be visible from the previous tasks. While your shower curtain and rugs are in the wash, wipe down your drawers, cabinets, and vanities. Lastly, sweep your tile or vinyl floor clean and, if available, use a damp microfiber mop to wipe it.
Need Help With Optimizing Your Bathroom Maintenance?
Bathroom maintenance doesn’t have to be difficult! Besides, you do not need much to get started either.
One of the main reasons why homeowners struggle with bathroom maintenance is because they lack the motivation, especially when behind the toilet needs scrubbing or the fan needs to be cleared. That’s a clear sign that your bathroom doesn’t meet your needs and expectations.
Our professional team at Mr. Handyman brings an average of ten years experience in home improvement and bathroom remodeling. We’re here to help increase your comfort at home so that any maintenance task becomes a walk in the park!
Contact your local experts at Mr. Handyman to learn more about how we can meet your needs for bathroom repairs and remodeling, as well as a wide range of additional home improvements.
