Patching Drywall 101: 3 Tips for Patching Drywall
Whether you need to hide a small crack in the paint or fix a large hole in the wall, patching drywall can be a frustrating process, especially if you aren’t very experienced. Here are 3 tips for patching drywall that may save you time and money in the long run:
1. After removing a nail, there may be a bit of drywall that erupts upward, leaving an uneven surface. Before you can repaint, you’ll need to press softly on the leftover mound so that it is concave into the wall instead of jutting out. The hole can then be filled with patching compound. Spread the compound with the end of a putty knife, press down onto the mound, and twist slowly until it is leveled.
2. When dealing with many consecutive screw holes, apply joint compound in a line that connects them all instead of filling the holes individually. This may seem like a waste, or making the job bigger than it has to be, but this professional method actually makes the job easier, since you can sand the entire stripe instead of having to gingerly sand each individual patched hole. Similarly, if you’re dealing with an area that has lots of dents or small dings, blanket the area with joint compound instead of filling in the many small indentations.
3. Invest in some crack repair spray. Unsightly cracks can form around windows and doors, usually caused or exacerbated by the building shifting over time. While this isn’t a permanent solution, applying crack repair spray will provide an economical temporary method for hiding cracks in your drywall. The spray is somewhat elastic, so it’ll mask any light cracks in your walls even as the building continues to move and shift.
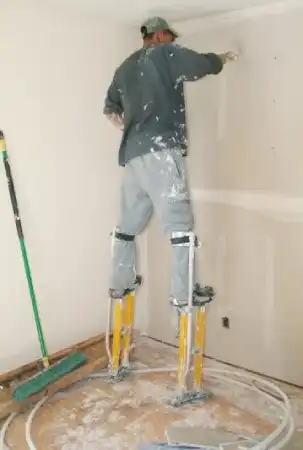
Patching drywall with professional results can be difficult for the uninitiated. For more information regarding drywall repair, or to arrange for an estimate, give us a call.
