A beautifully installed backsplash can transform the look and feel of your kitchen. At Mr. Handyman®, we specialize in tile backsplash installation that adds style, protects your walls, and enhances the value of your home. With Mr. Handyman, your kitchen backsplash installation is in good hands.
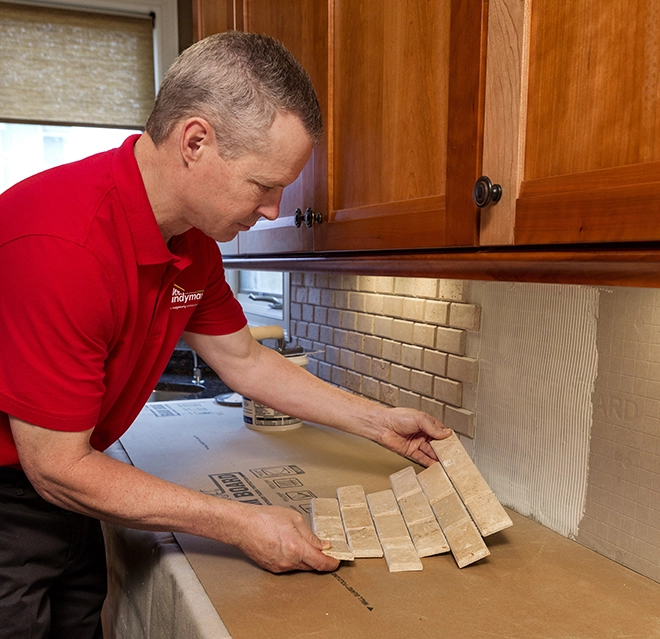
Professional Backsplash Installation Services
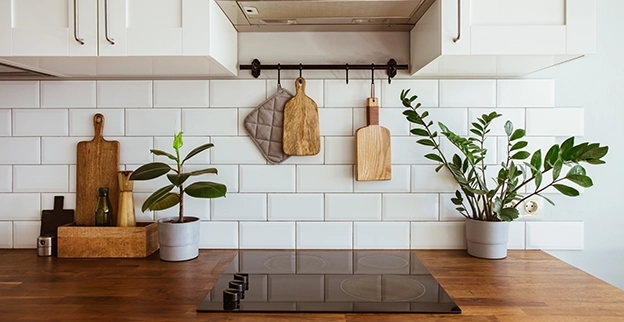
Backsplashes Can Add the Finishing Touch to a Kitchen
Professional Backsplash Installation Services
Backsplashes Can Add the Finishing Touch to a Kitchen
Let Us Call You
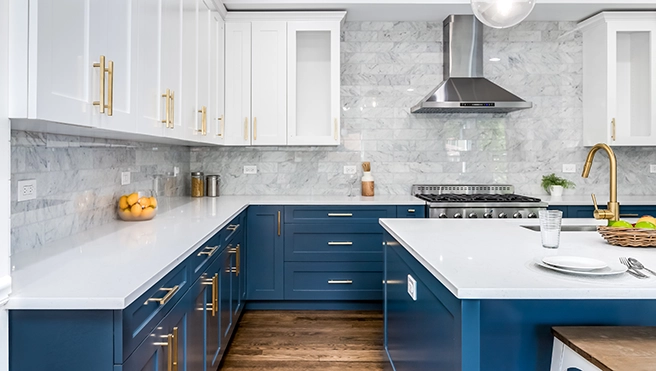
The Key Benefits of Professional Backsplash Installation
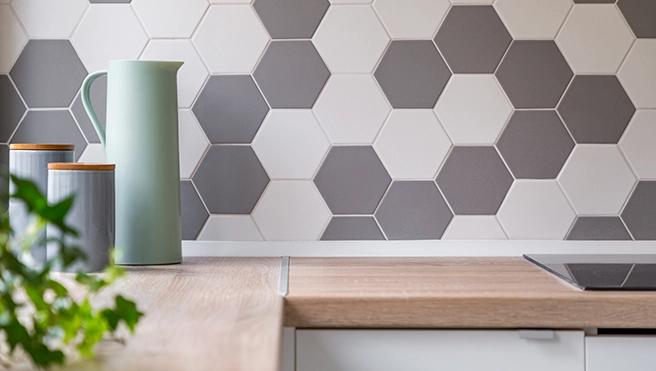
More Kitchen Backsplash Services
Why Choose Mr. Handyman for Backsplash Installation?
When you make one simple call, we’ll easily schedule your appointment for a backsplash installation. Choose a time that works for you, and we’ll arrive on time. When we’re done, we’ll even clean up so your kitchen is as clean as when we found it.
All of our service professionals have an average of 10 years of experience in their trades, and each local Mr. Handyman franchise is fully licensed and insured for your peace of mind. We offer quality workmanship, and Neighborly Done Right Promise® backs all our work and ensures your satisfaction.
All Mr. Handyman franchises are locally owned and operated and may offer fewer or more services than those listed here. To learn more about backsplash installation offered in your area, contact your local Mr. Handyman for details or a customized on-site assessment.
Why Choose Mr. Handyman for Backsplash Installation?
Our Professional Handyman Services
At Mr. Handyman, our goal is to bring your ideas to life. We offer comprehensive handyman services to meet all your needs. Some of our most popular services include the following:
-
Repair Services
Learn More Repair ServicesHomes break. Whether you need your gutters or garage shelving fixed, Mr. Handyman has you covered.
-
Commercial Services
Learn More Commercial ServicesDon’t wait on urgent handyman service for your business. We work with organizations of all sizes.
-
Carpentry Services
Learn More Carpentry ServicesCustom project? Our carpenters get to work right away to develop the perfect product for your spot.
-
Remodeling Services
Learn More Remodeling ServicesLooking for help with a new kitchen or bathroom remodel? Mr. Handyman’s experts can make it happen.
Customer Testimonials: Hear What Our Clients Say!
Read More TestimonialsThe Neighborly Done Right Promise® delivered by Mr. Handyman®, a proud Neighborly company.
Helpful Resources
-
When is the Best Time to Stain a Deck?
Your deck must be well-maintained and protected to withstand the harsh elements that Mother Nature throws at it.
Jul 06 2026 -

Where Not to Caulk Around Windows
If you’re planning to replace just a few windows or want to do some maintenance on the ones you have, the window experts at Mr. Handyman® have some helpful window caulking advice.
Dec 04 2025 -

5 Signs It’s Time to Repaint Your Home (and What to Do Next)
A fresh coat of paint can completely change how your home looks—and how it feels to live in it. In this guide, we’ll walk you through five clear signs
Oct 24 2025
FAQs About Backsplash Installation
For over 25 years, Mr. Handyman professionals have been helping homeowners and businesses repair, maintain, and enhance their spaces. We are a one-stop solution for everything on your to-do list. This includes answering your questions about home repairs, maintenance, and improvements. Here are answers to some of your most frequently asked questions about backsplash installation.
Join Our Team
Mr. Handyman is hiring. For 25+ years, we've consistently hired reliable, customer service-focused employees who are both knowledgeable and skilled.