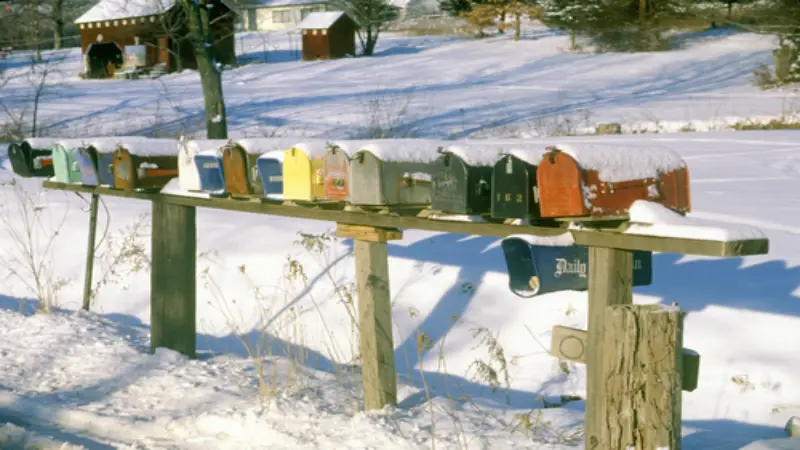
The Best Way to Put in a Mailbox

QUESTION TO MR. HANDYMAN
Mr. Handyman,
What is the best way to put in a mailbox so it will last no matter what the snowplows do?
Thanks, Sid
Hi Sid,
The first recommendation for the post is a 4x4 high-carbon alloy steel beam. The walls on this square tube should be no less than ¼” thick. It should also be painted. You need to have a plate welded at the top end. This plate should be large enough to bolt the mailbox to. As for the length of the post, you want to plant it 4 to 5 feet in the ground. The bottom of the mailbox should be between 42” to 48” above the road and the door of the mailbox 9” from the curb. Let’s use a 9-foot length for this mailbox.
To install the post in the ground you will need gravel, a 12” concrete tube form, enough concrete to fill the tube, a level, a rope or firring strips, and stakes. The gravel is for filling in the hole for water drainage. It is suggested to do a “Call Before You Dig” to ensure there are no underground pipes, wires, or gas lines where you will be digging your hole for the post. I would rent a machine that bores holes in the ground if you wish to get the job done fast. This will make a nice round 18” diameter hole and 4 to 5 feet deep in the ground in about fifteen minutes.
After the hole is cleared of debris, cut the concrete from the tube to just less than the depth of the hole, put it in the ground, and level it. You want the concrete to be buried below the ground. Fill the hole around the tube with about a foot of gravel and the rest with dirt. Pack it down as you go. Set the post into the tube and measure the height above the road. Cut it off at the bottom if you need to lower it or add gravel to make it higher. Use rope or furring strips and stakes to secure the post in the center of the concrete tube to temporarily hold it plumb and level. Check all the measurements, alignment to the road, plumb, and levelness of the post and top plate again. If everything is the way it should be, fill the tube around the post with mixed concrete, tamping it with a length of wood. Keep checking the post with a level as you fill the tube. When the tube is filled, shape the top of the concrete to form a point around the steel post. This will drain standing water away from the steel. Now let the mix harden for a day or two.
When you return, fill the rest of the hole with dirt to ground level. And now you are ready to mount your heavy-duty mailbox! Drill the corresponding holes, usually four 2” x 5/16” bolts will do. We recommend using all stainless-steel hardware for this job. Do not mount the mailbox directly on the plate. Place a stainless-steel washer between the mounting plate and the bottom of the mailbox. This will give it a little air space so any water will dry off. There is less of a chance of it rusting away 20 years from now by doing this.
While most customers do not ask to have their mailboxes installed this way, if you really want something like this we can do it. Next time that snowplow goes by at 50 mph pushing that heavy Connecticut slush, your mailbox will handle it.
My highly rated technicians at Mr. Handyman of Upper Fairfield County hold years of experience dealing with problems like this. If you feel unsure about being a do-it-yourselfer, just give us a call or contact us online and say “Help". And help will be there just when you need it, “ON TIME.” You can also take comfort knowing that the work will be, “DONE RIGHT,” with 100 percent satisfaction guaranteed.
Be sure to ask about our FREE “Home Maintenance Review” and have your house checked from top to bottom. Call us today!
If you have any questions about home repair, e-mail them to [email protected]
Your Friends at Mr. Handyman of Upper Fairfield County
 Click to call


